Organize with tags and custom fields
Use tags to label computers and users, such as by department. Use custom fields to add your own columns, such as Location. They help you find and group rows in a large team, for example every computer in one office. Both work in the Computers and Users tables. Tags, notes, and custom fields are encrypted before storage.
Applies to
- Any Jump Desktop for Teams plan.
- Team administrators. Admin (Read-Only) members can see tags and custom fields but can't change them.
Add tags
- In the Teams dashboard, open your team and click Computers (or Users).
- Choose the rows:
- One row: click its Tags cell (+ if it has no tags).
- Several rows: select them, then click Actions (or right-click a selected row) and choose Add tag. Existing tags are kept.
-
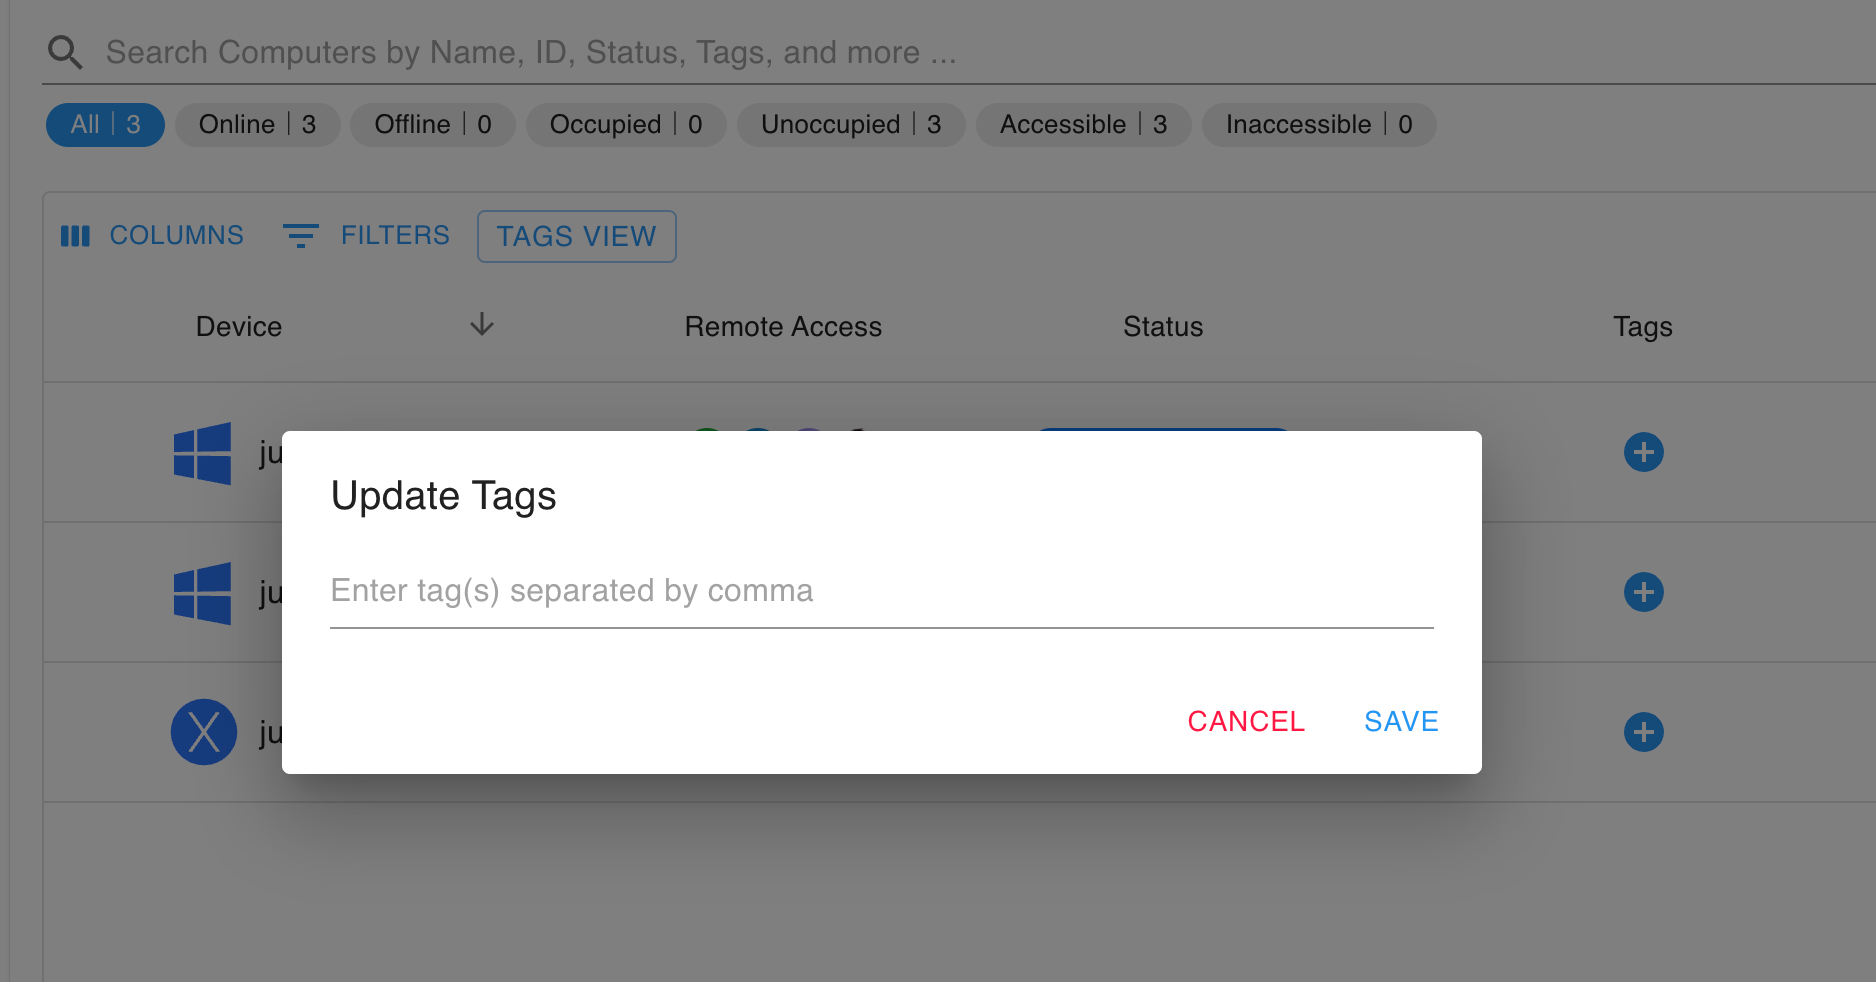
Enter one or more tags, separated by commas, and click Save.
Remove tags
- One row: click its tags. In Update Tags, click × on each tag to remove and click Save.
- Several rows: select them, choose Actions > Remove tag, click × on each tag to remove, and click Save.
You can also edit tags in the Tags card of a computer's or user's details.
Rename a tag
- Click Tags View. Rows are grouped by tag; rows without tags appear under Ungrouped.
- Click the edit icon on the tag.
- Type the new name and press Enter, or click away. The tag is renamed everywhere it's used.
Find computers by tag
Type a tag in the Computers search box, or click Tags View.
Add a custom field
-
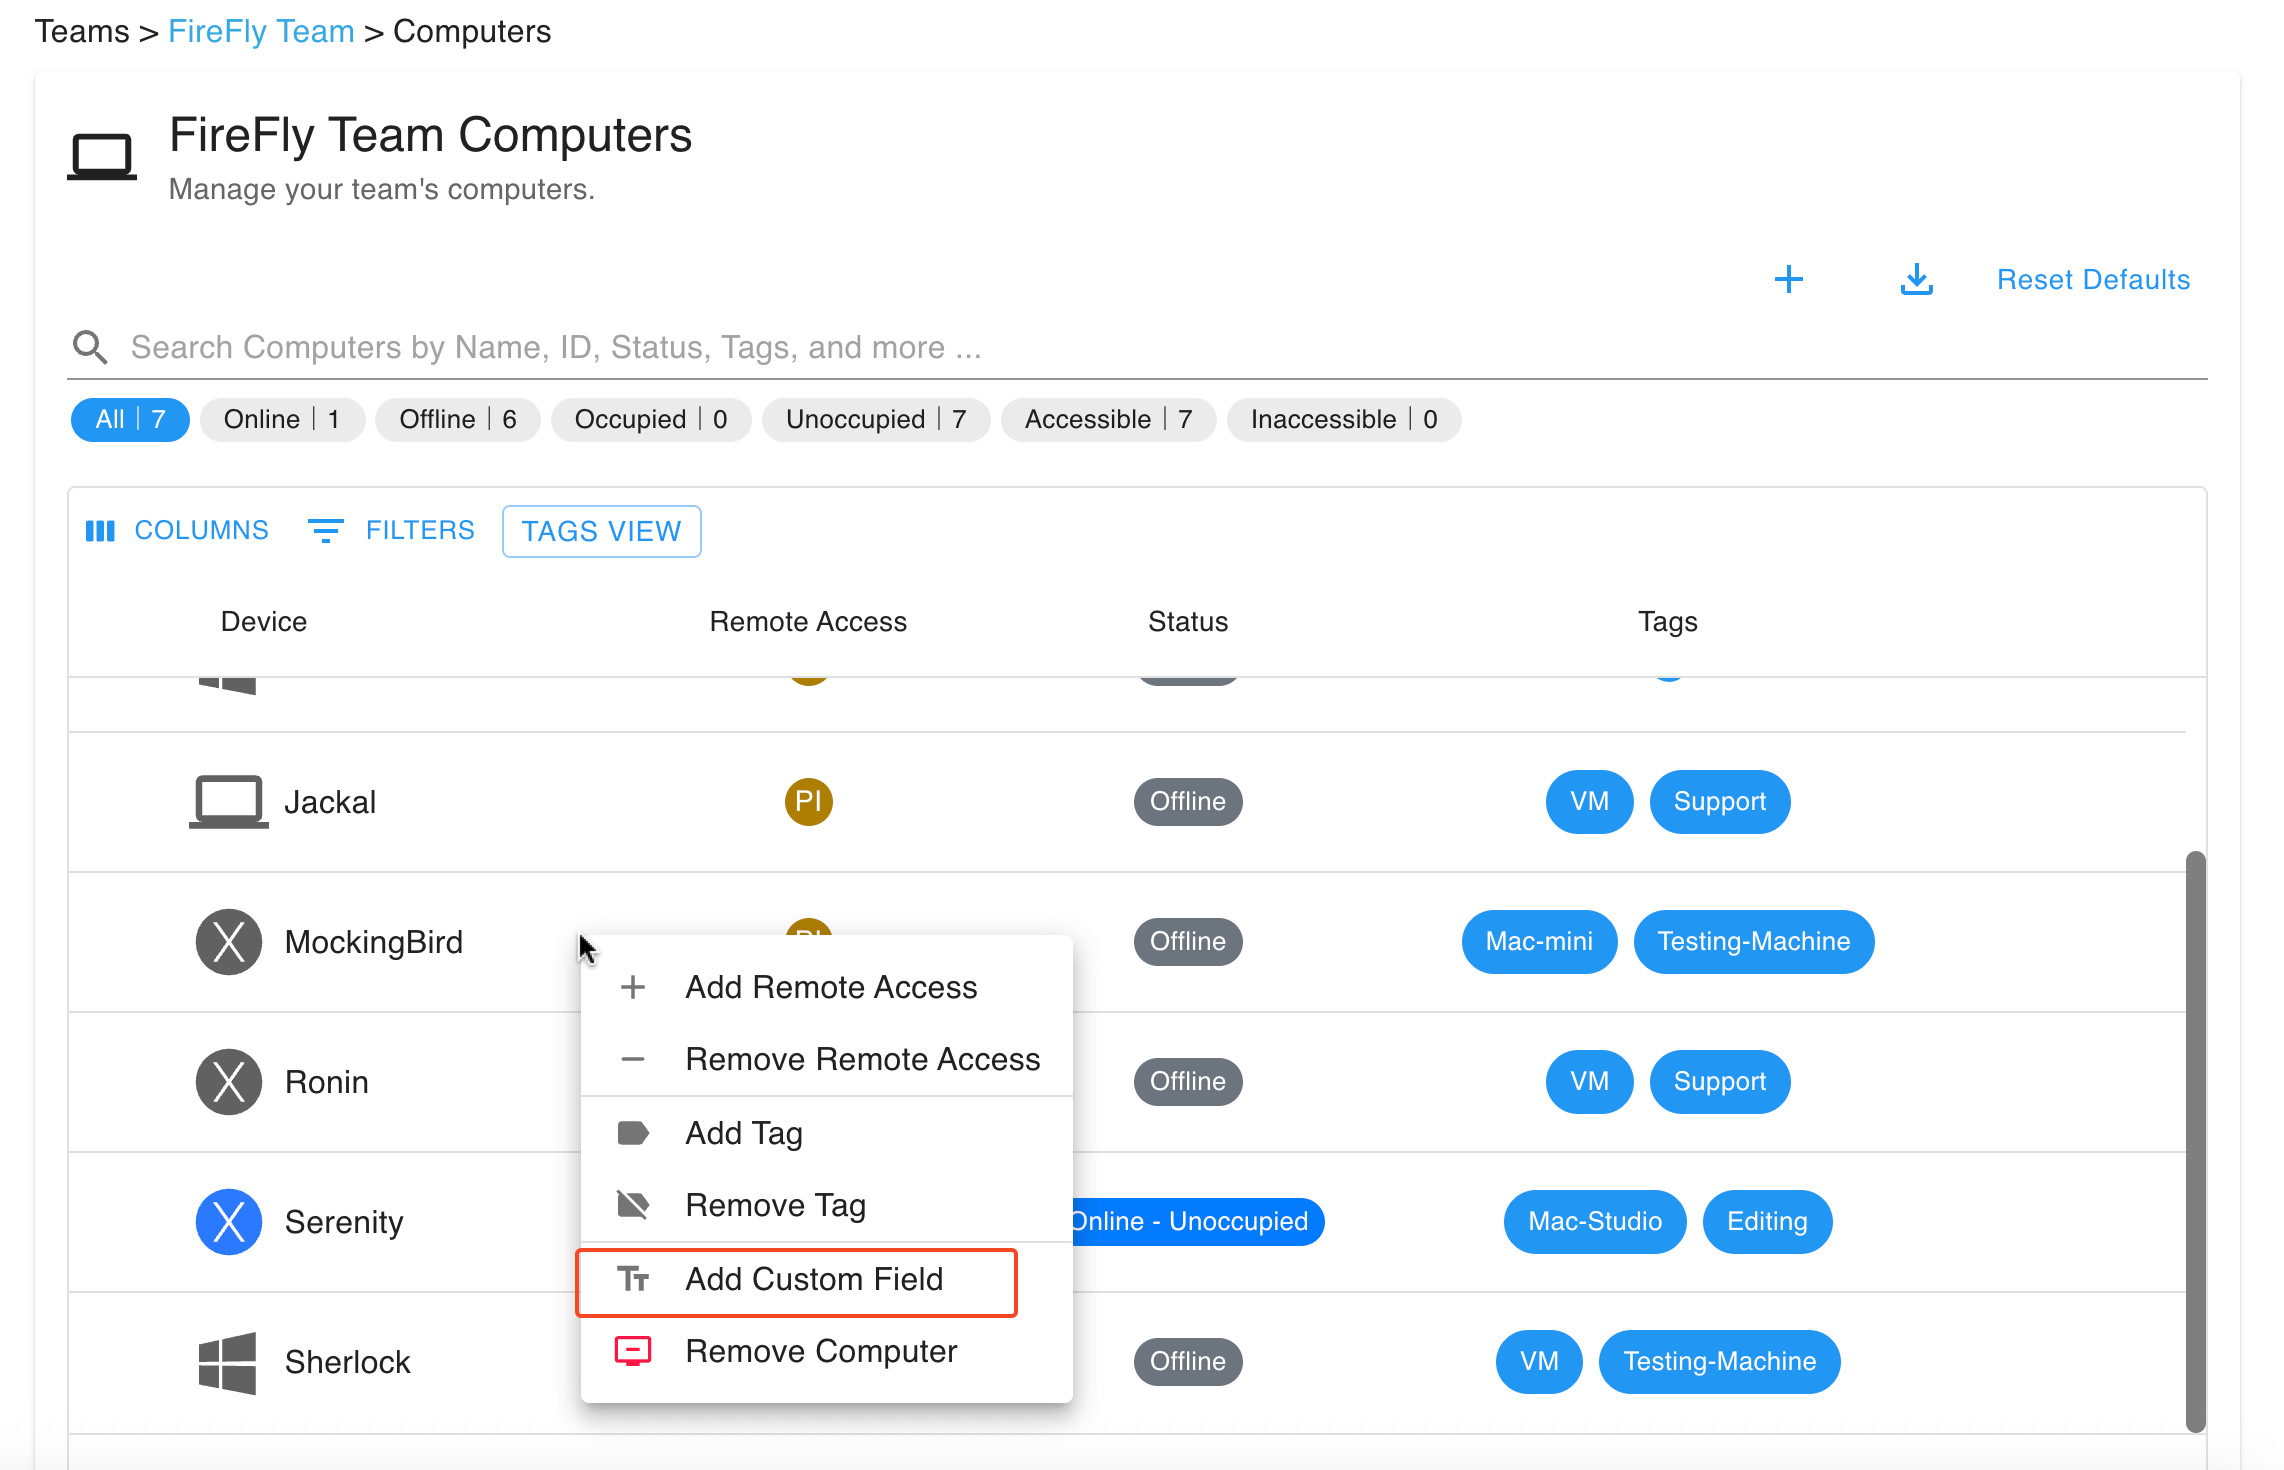
In Computers (or Users), select the rows, then click Actions (or right-click a row) and choose Add custom field.
 2. In Title, enter a new field name or pick an existing one.
3. In Value, enter the value for the selected rows, and click Save.
2. In Title, enter a new field name or pick an existing one.
3. In Value, enter the value for the selected rows, and click Save.
The field appears as a column. If you don't see it, turn it on in Columns.
Edit or group by a custom field
- Edit a value: click the cell, type the new value, and press Enter or click away. In Computers, an empty value isn't saved; delete the field instead.
- Group rows: open the column header menu (⋮) and choose Group by the field.
Delete a custom field
- Click the computer or user to open its details.
- In the Note card, click Show More.
- Click the delete icon next to the field, then click Delete.
This removes the field from that computer or user only.
Custom fields on Access Groups
Team administrators can also add custom fields to an Access Group. Admin (Read-Only) members can't.
- In the Teams dashboard, click Access Groups, then click the group to open its details.
- In the Note card, click Add Custom Field, enter a Title and Value, and click Save.
The field appears in the group's Note card. It doesn't appear as a column in the Access Groups table.