Set up single sign-on
Single sign-on (SSO) lets team members sign in to Jump Desktop with their company account from your SAML 2.0 identity provider (IdP), such as Okta, Microsoft Entra ID, or Google Workspace. Administrators can then require SSO for every member. Use it to make everyone on the team sign in with company credentials, and as the base for domain verification and SCIM provisioning.
Applies to
- A paid Jump Desktop for Teams Enterprise plan. Trials can't set up SSO.
- Team administrators.
- An identity provider (IdP) that supports SAML 2.0.
1. Create the SSO connection
- In the Teams dashboard, open your team and click Security.
- In Team Single Sign On, click Setup SAML SSO, then Next.
- Enter an SSO Company Name: 4 to 32 lowercase letters and numbers. Users enter this name when they sign in with SSO. Click Next.
- Click Create. You upload the IdP metadata in step 3.
- Click Manage SAML SSO and copy the ACS URL and Entity ID.
2. Configure your identity provider
Create a custom SAML 2.0 app in your IdP with the ACS URL and Entity ID, and send these attributes:
| Attribute | Required | Also accepted |
|---|---|---|
User.email |
Yes | http://schemas.xmlsoap.org/ws/2005/05/identity/claims/emailaddress |
User.firstName |
Yes | http://schemas.xmlsoap.org/ws/2005/05/identity/claims/givenname |
User.lastName |
No | http://schemas.xmlsoap.org/ws/2005/05/identity/claims/surname |
Attribute names aren't case-sensitive. Then download the IdP metadata XML file.
-
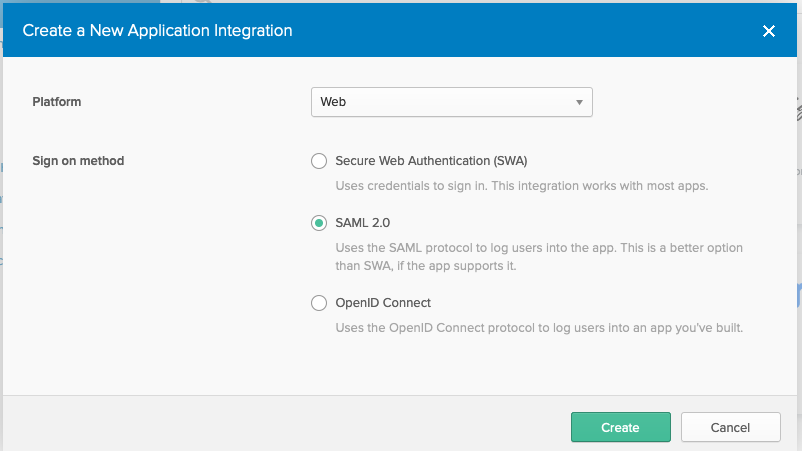
Create a new app with Platform set to Web and Sign in Method set to SAML 2.0.

-
Set Single Sign On URL to the ACS URL and Audience URI to the Entity ID.
-
Add attribute statements (name → value):
User.email→user.email,User.firstName→user.firstName,User.lastName→user.lastName.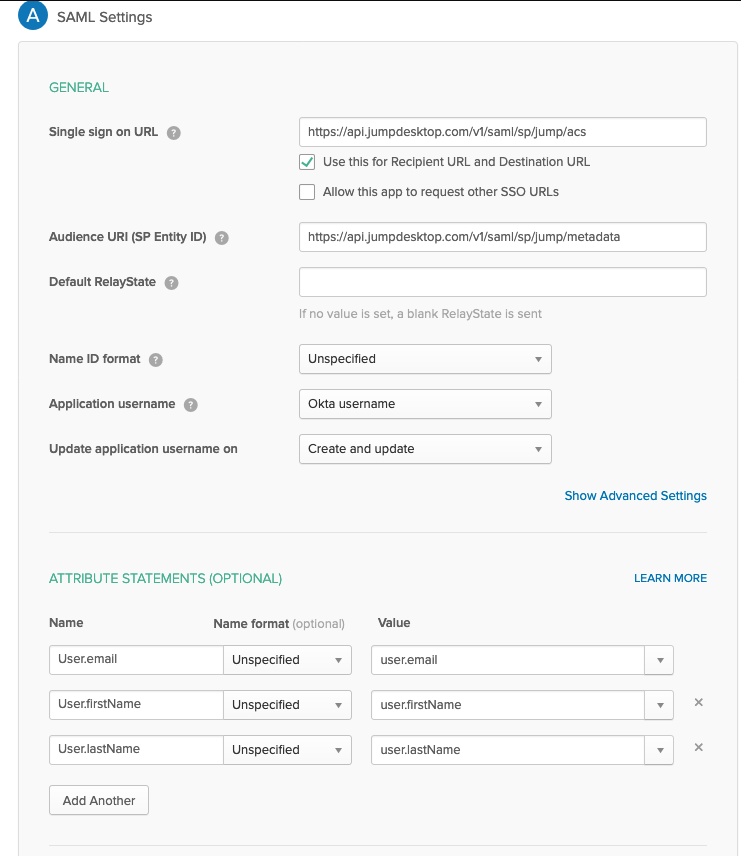
-
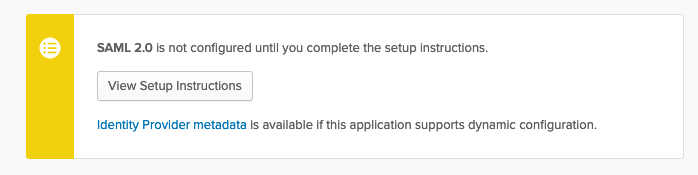
Download the app's Identity Provider Metadata.
-
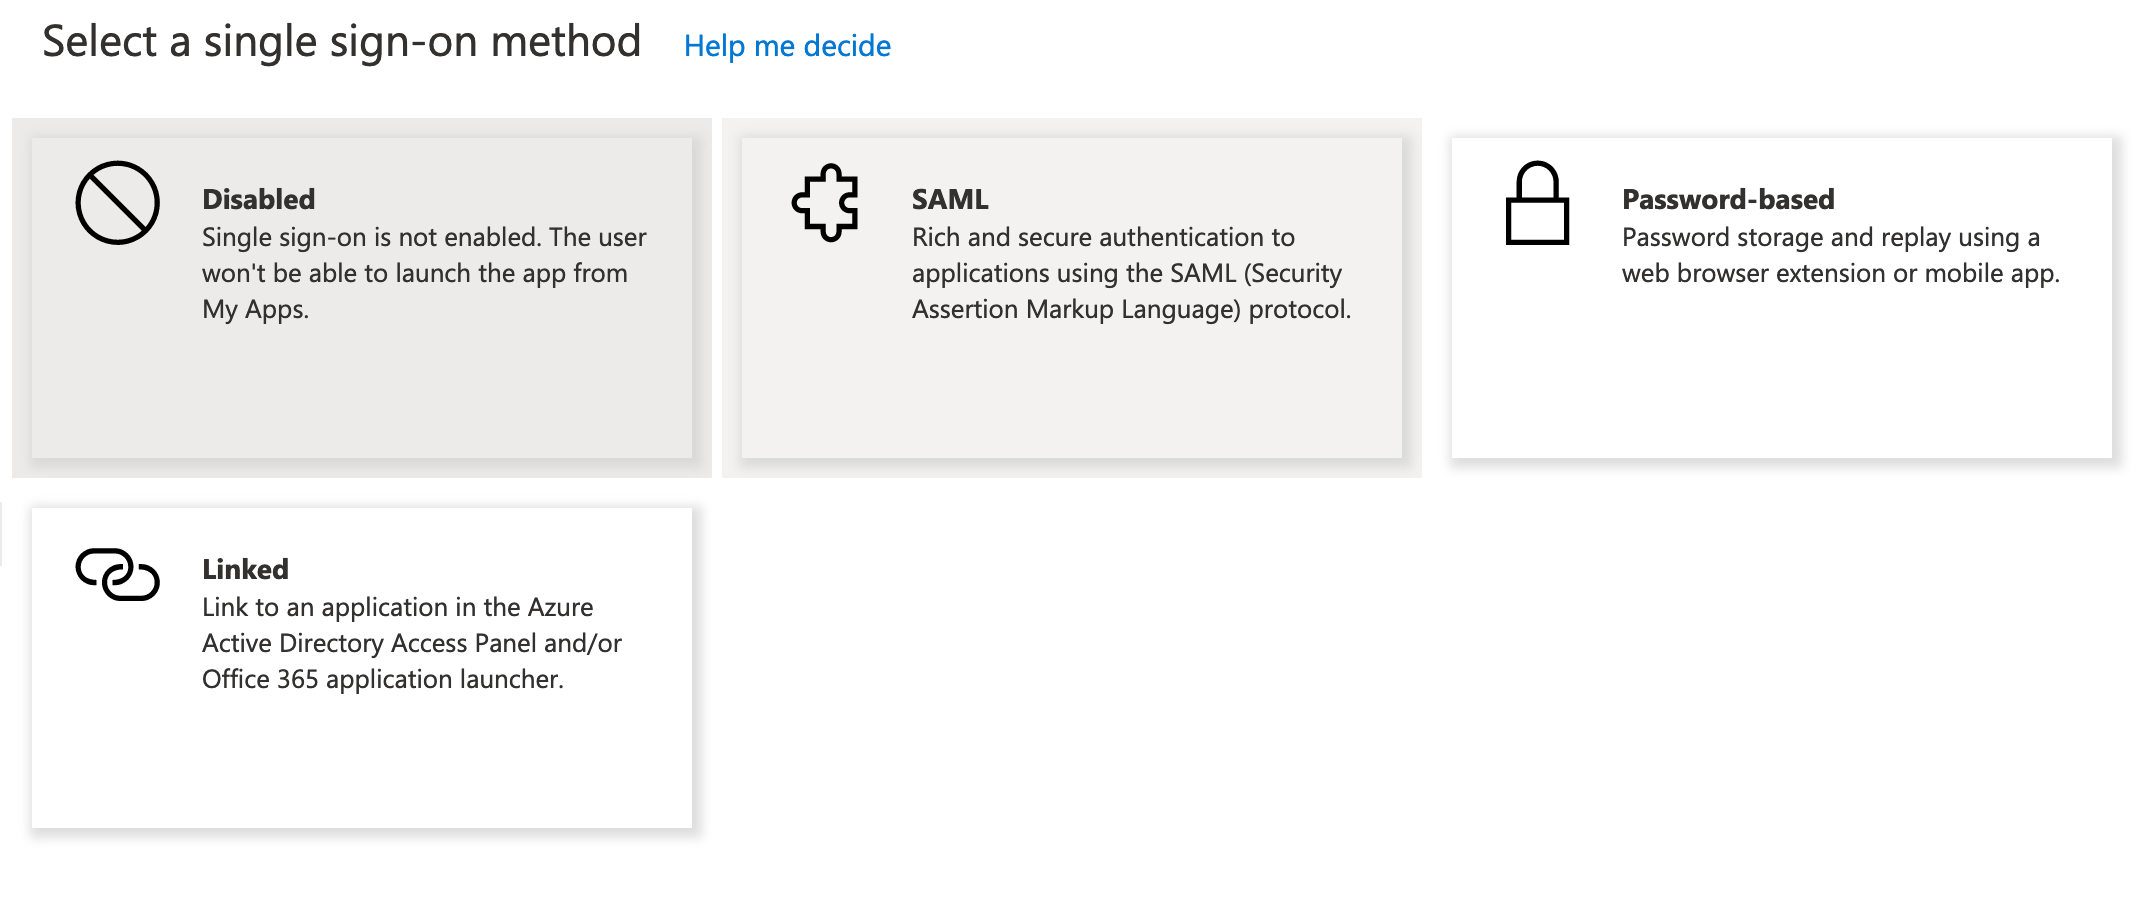
In Enterprise Applications, create a non-gallery application, click Set up single sign on, and select SAML.
-
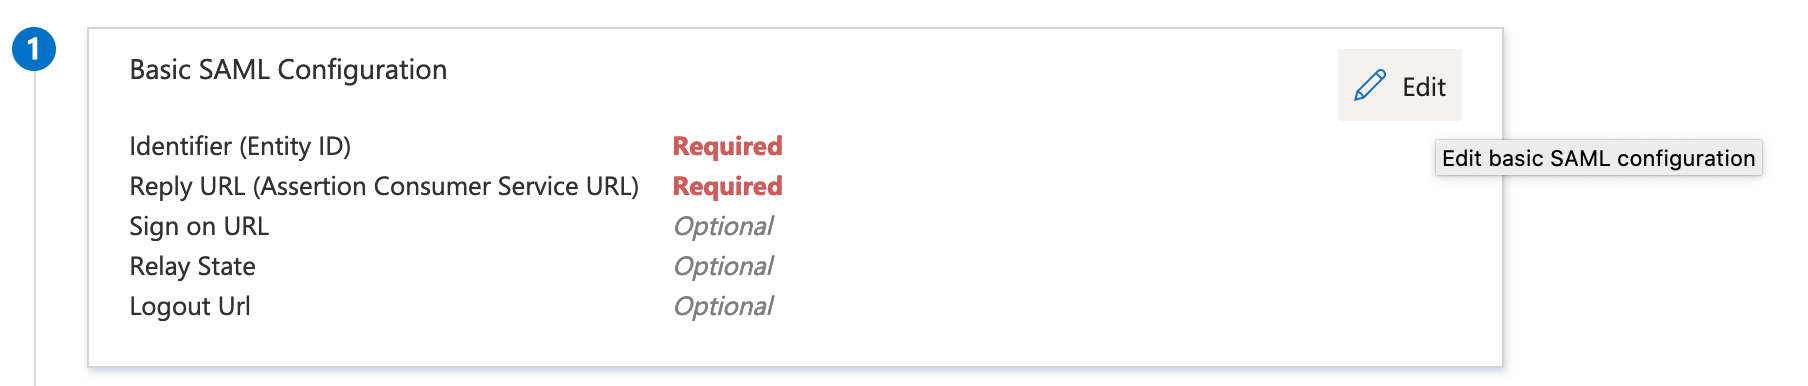
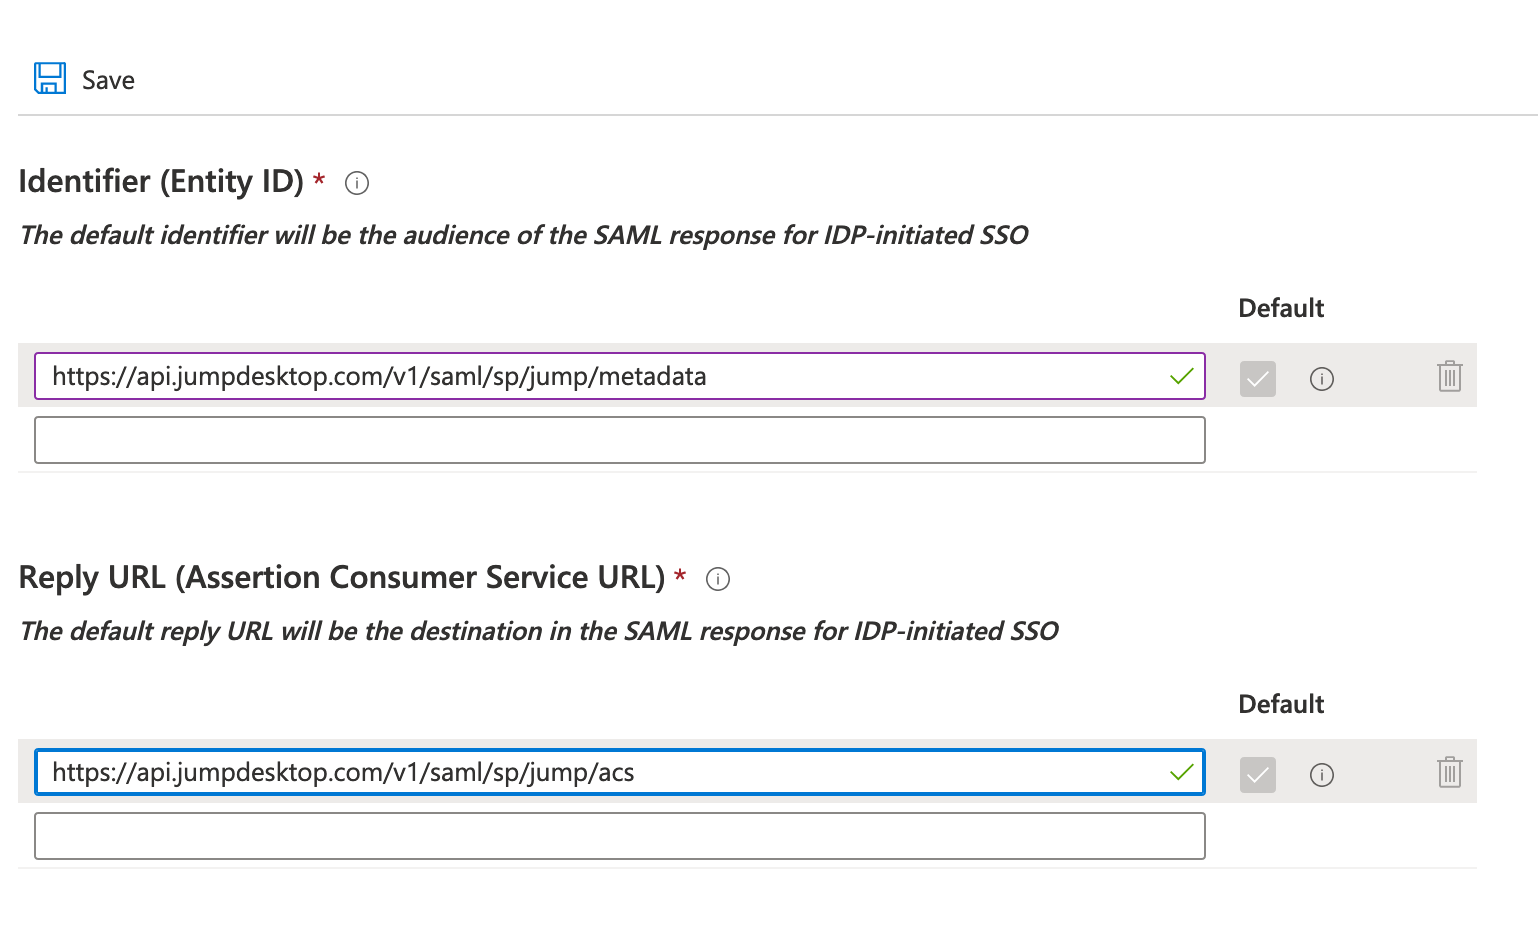
In Basic SAML Configuration, set Identifier (Entity ID) to the Entity ID and Reply URL (Assertion Consumer Service URL) to the ACS URL.
-
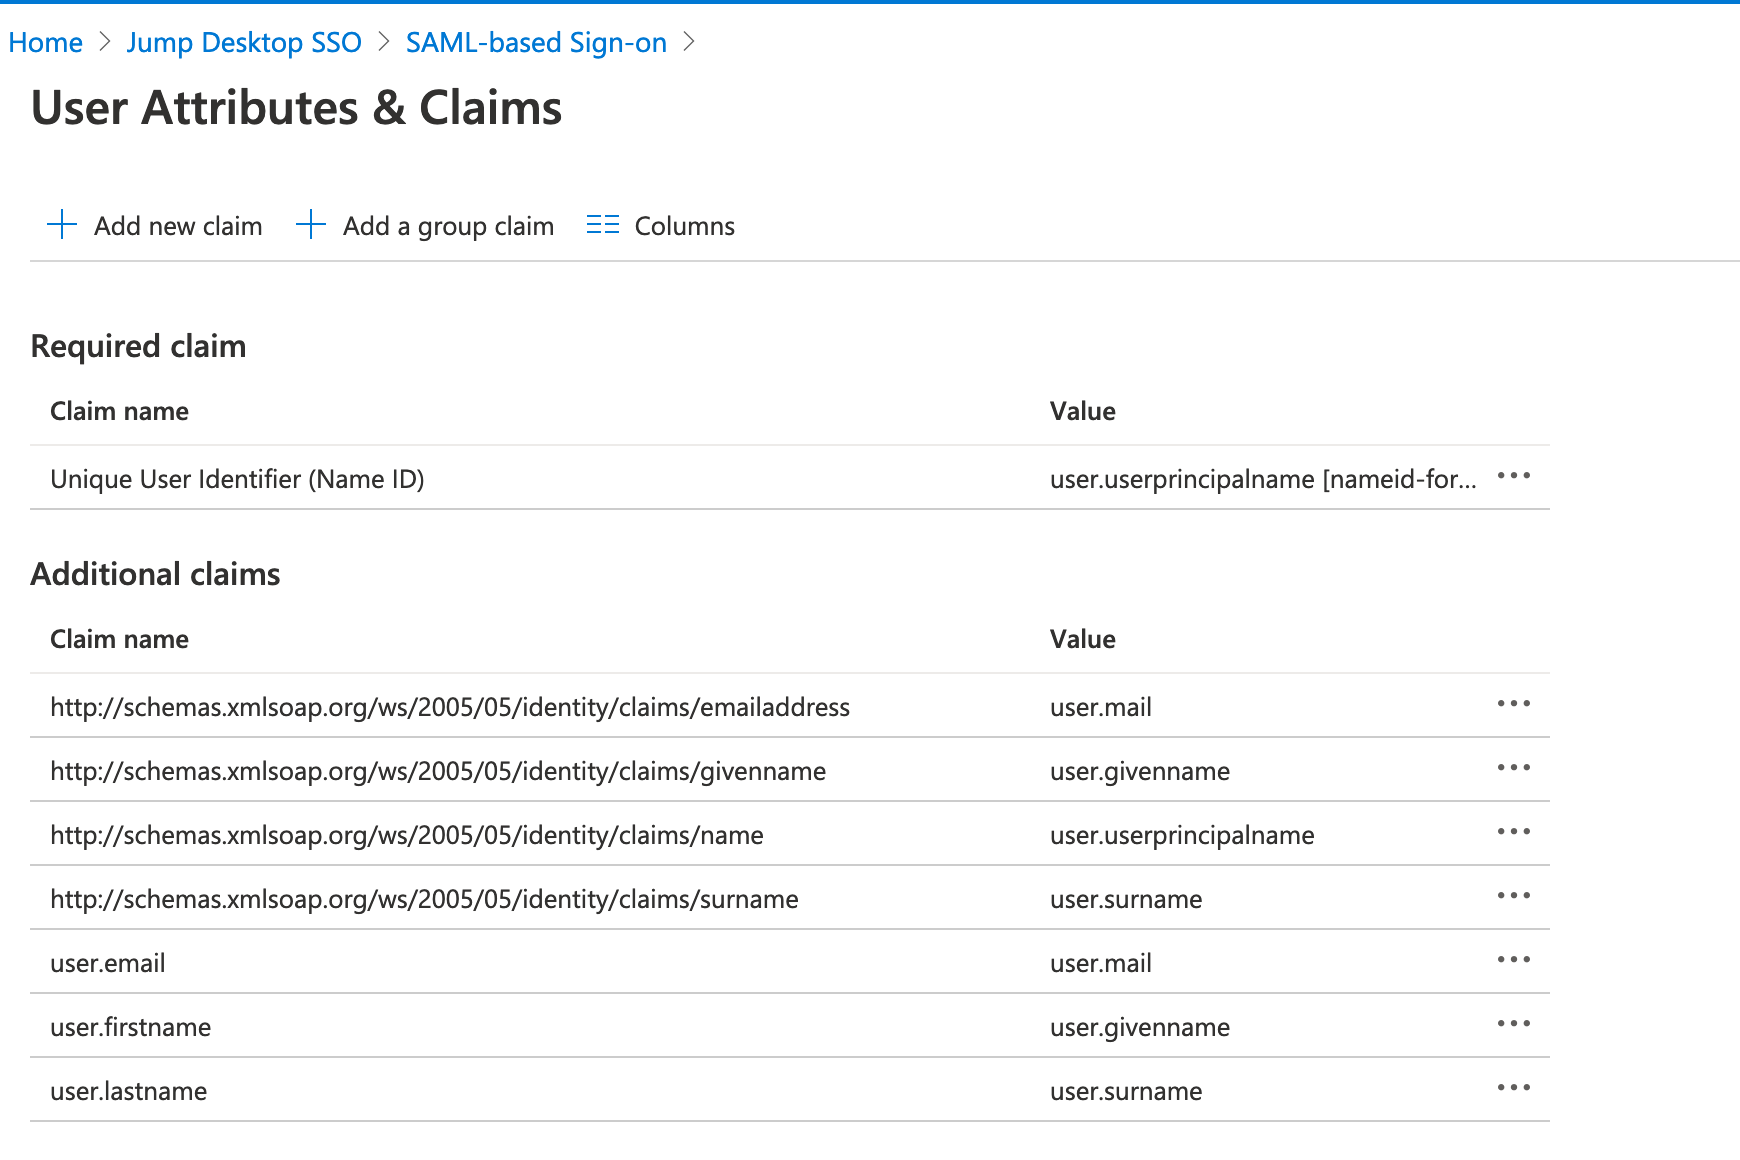
In User Attributes & Claims, add these claims (claim name → source attribute):
User.email→user.mail,User.firstName→user.givenname,User.lastName→user.surname. The screenshot's lowercase names also work.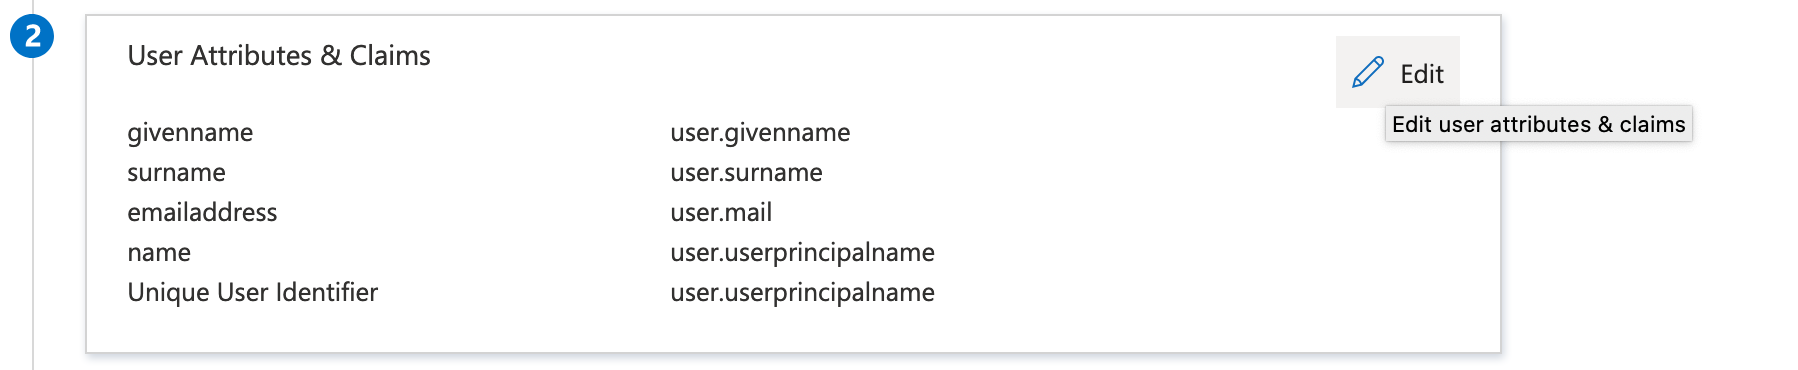
-
In SAML Signing Certificate, download Federation Metadata XML.
- Optional: in Users and Groups, add the users who can sign in.
-
In the Admin console, go to Apps > Web and mobile apps > Add app > Add custom SAML app.
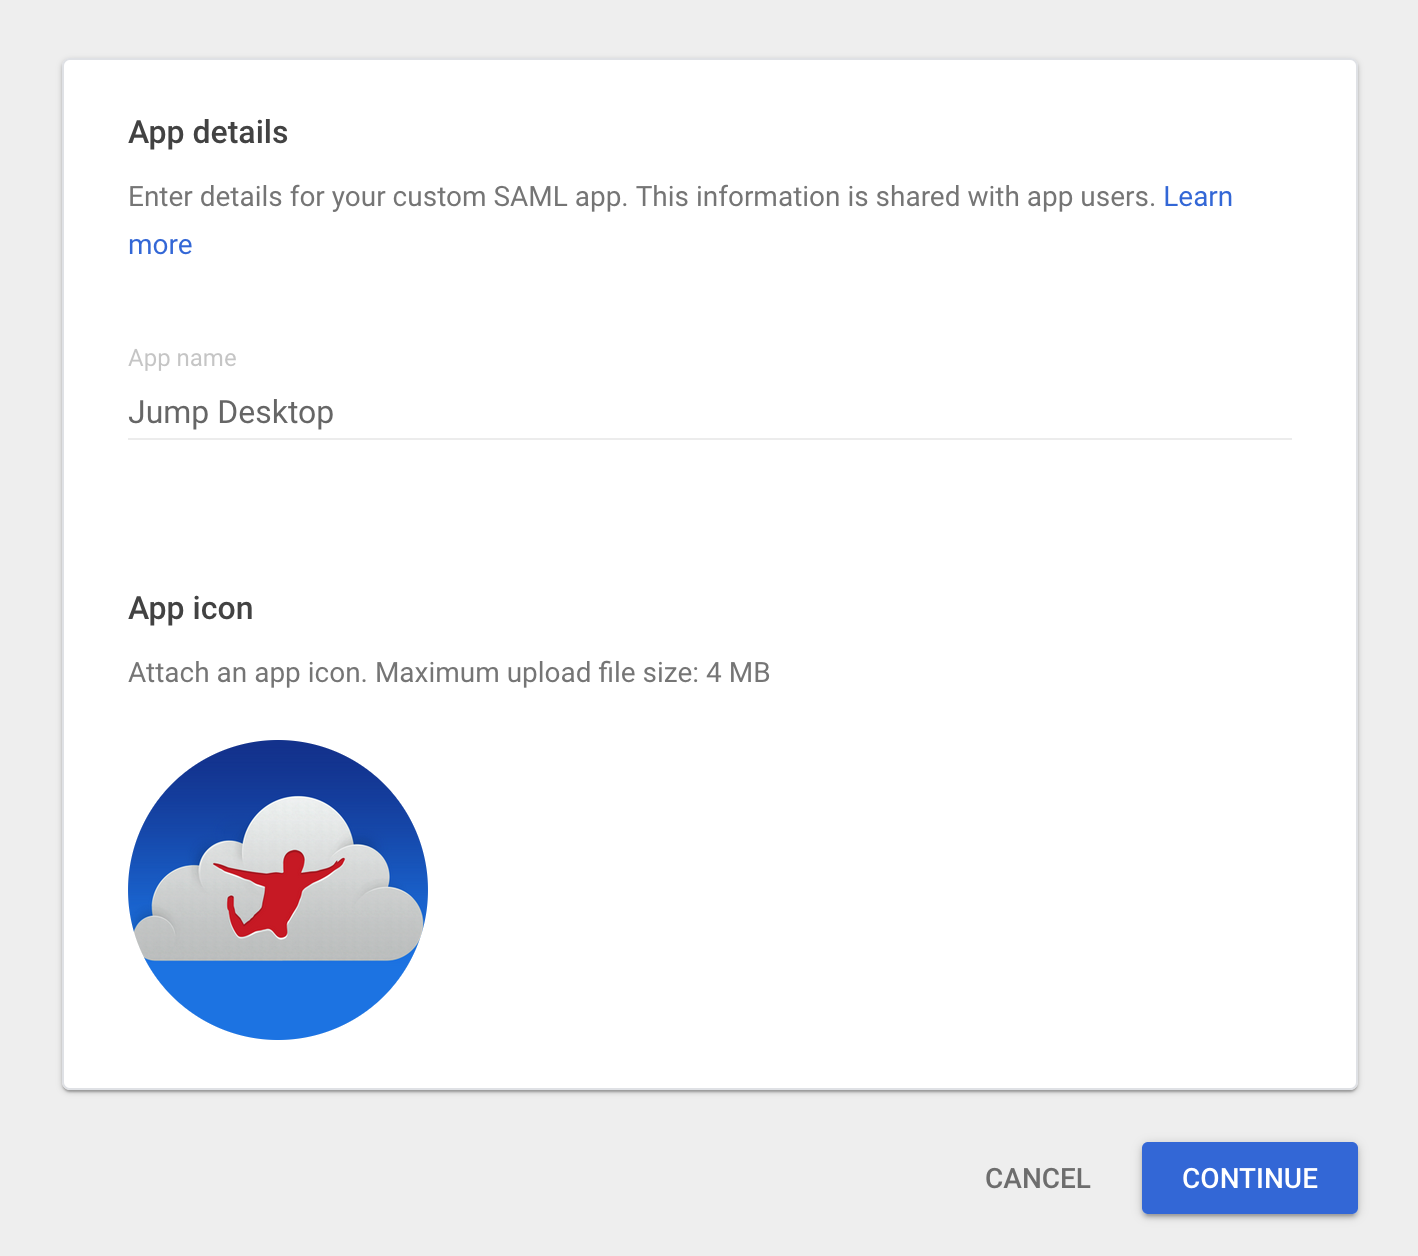
-
Download the IdP metadata.
-
Set ACS URL to the ACS URL and Entity ID to the Entity ID.
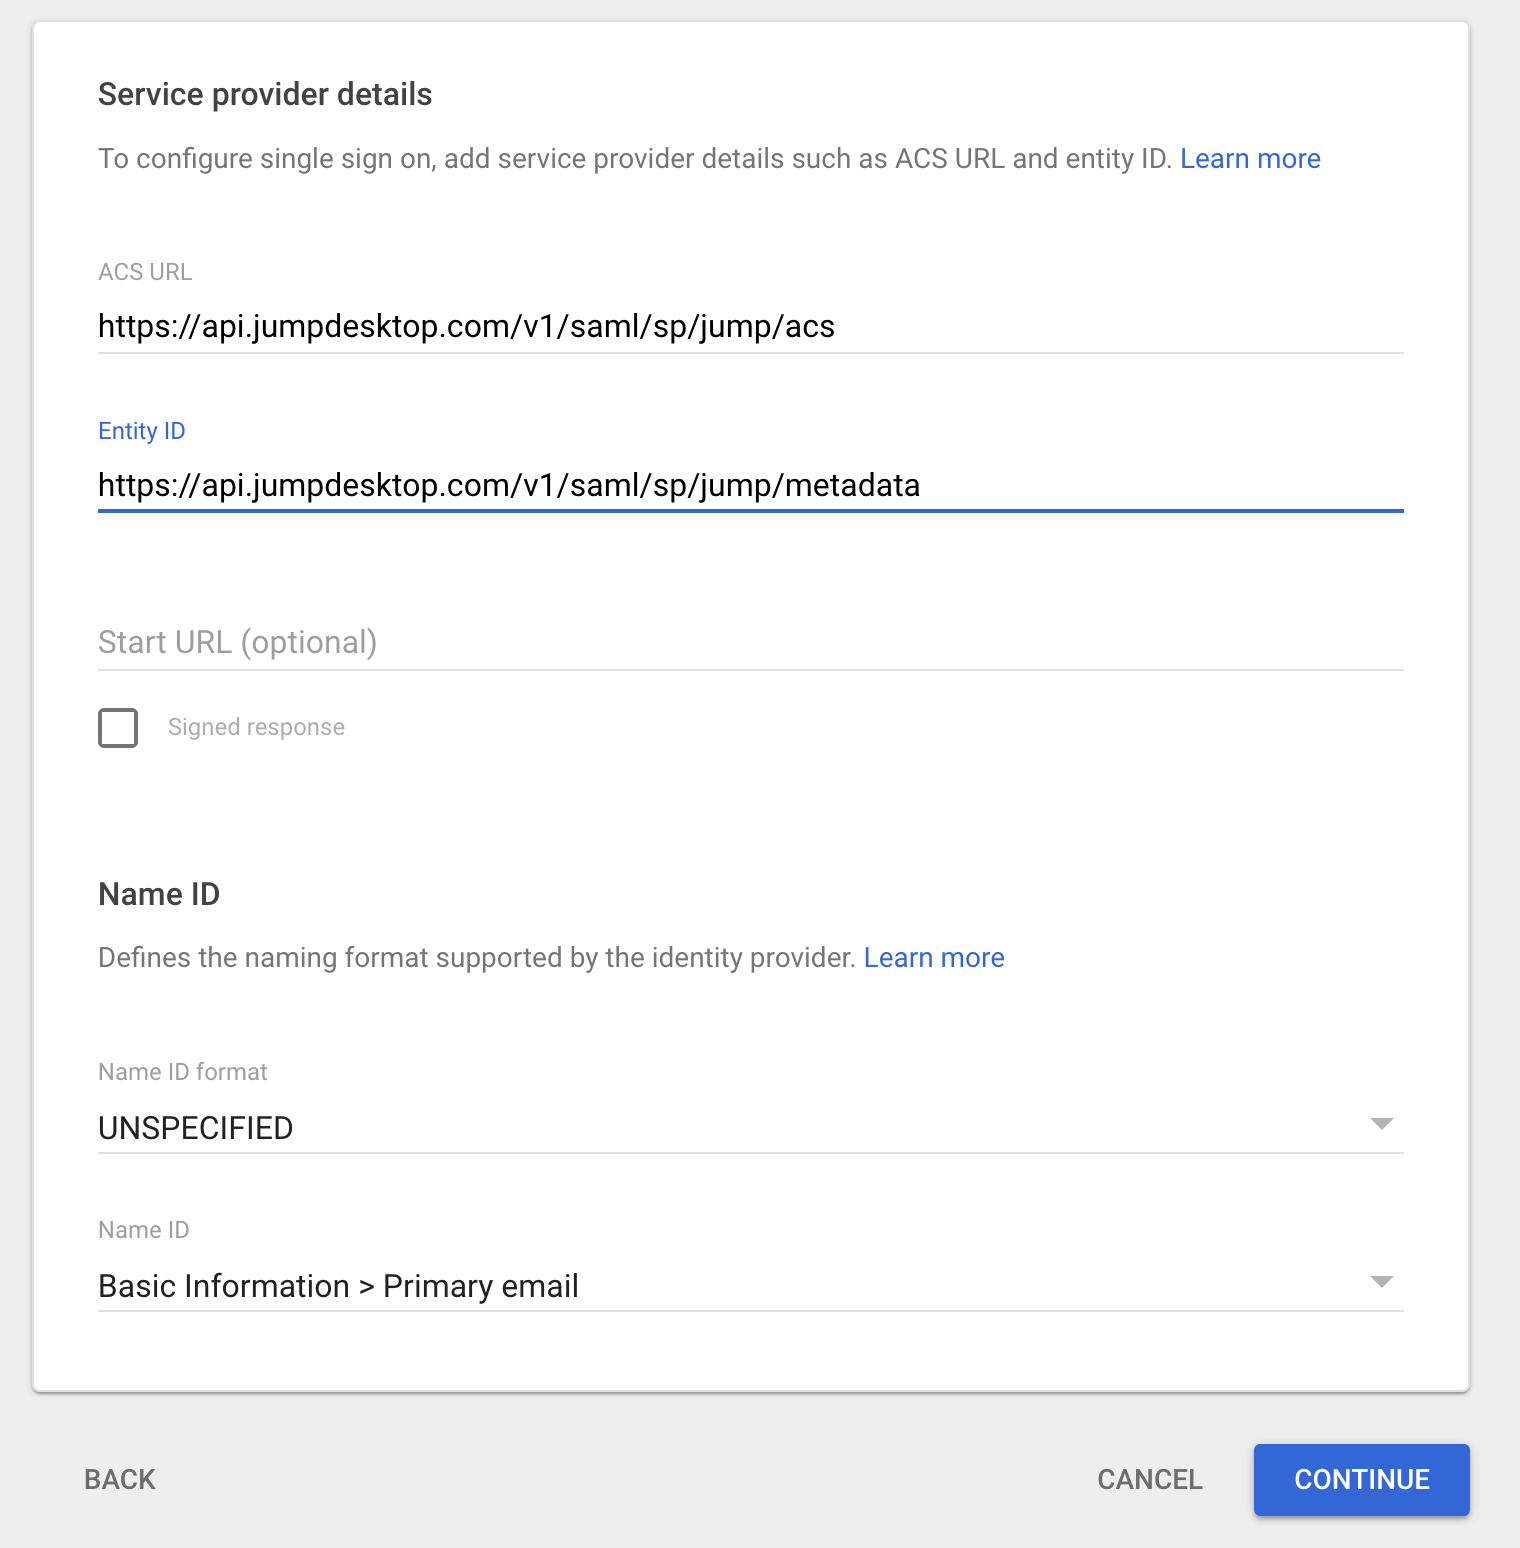
-
Add attribute mappings: Primary Email →
User.email, First Name →User.firstName, Last Name →User.lastName.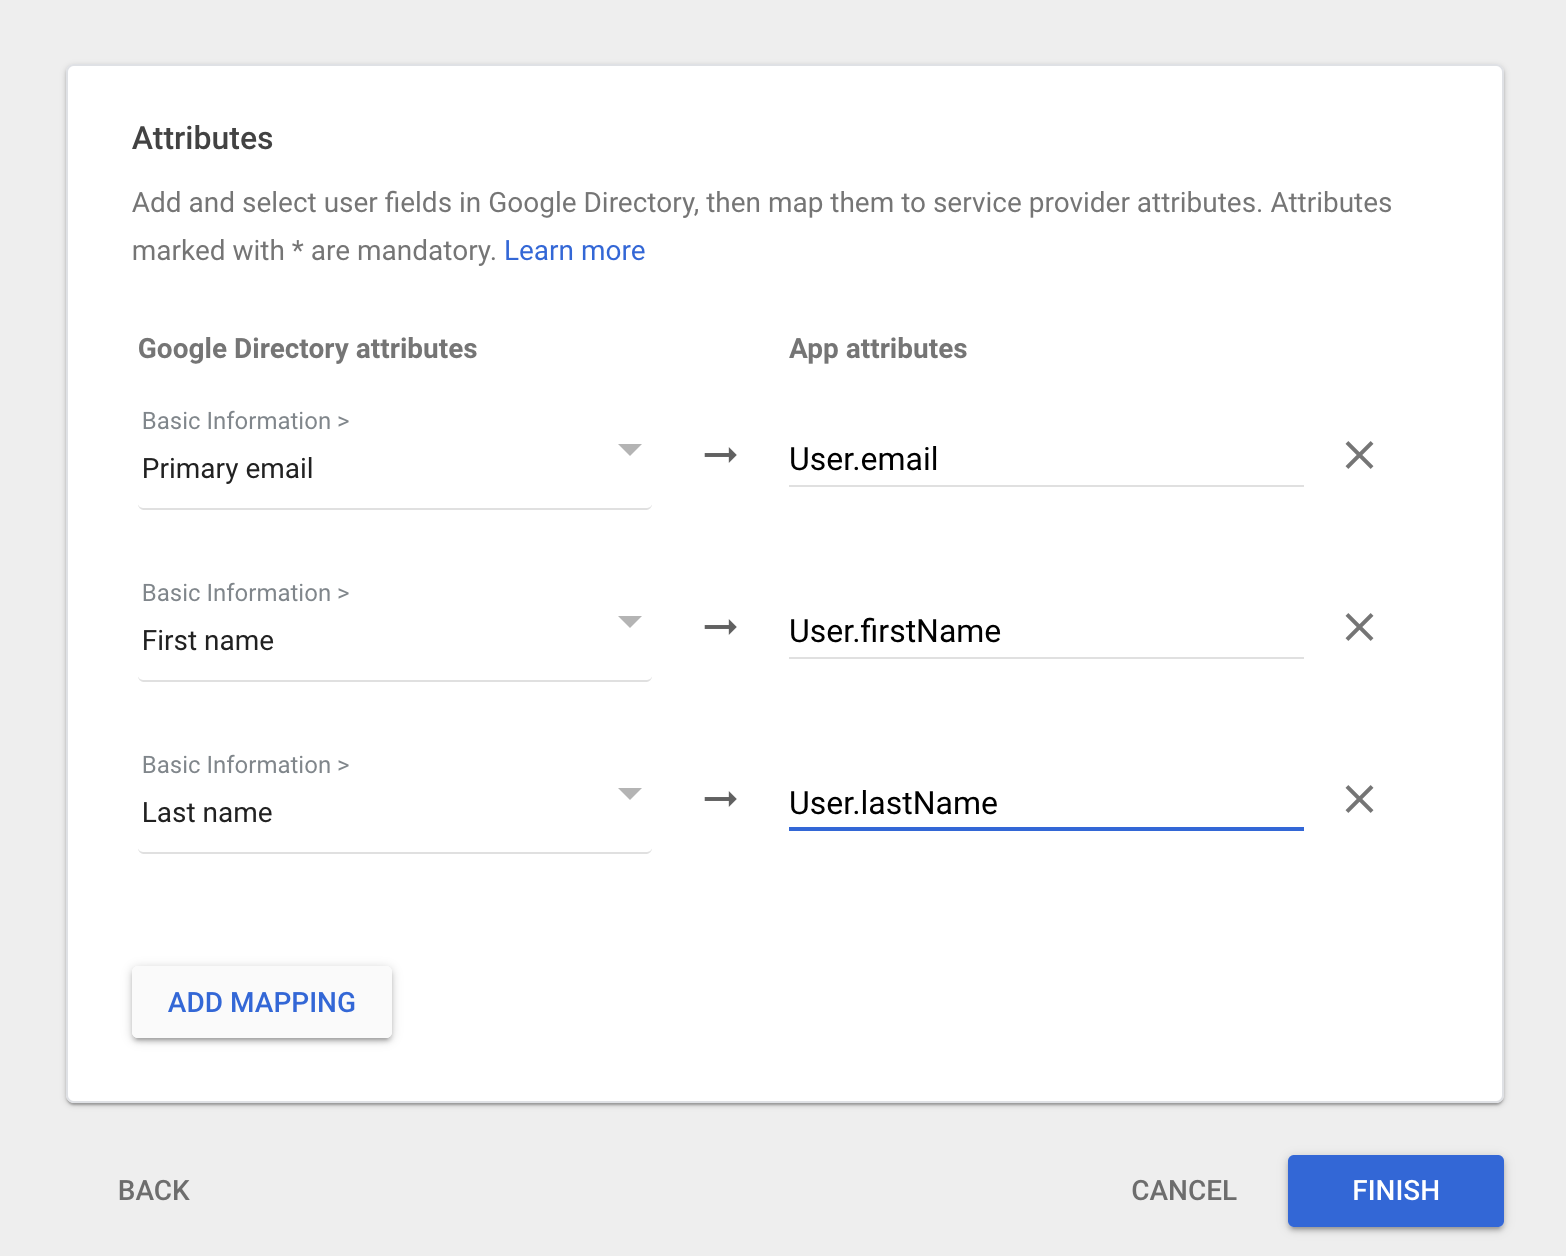
-
Add the SAML Test Connector (Advanced) app.

-
In Configuration, set Audience to the Entity ID, and Recipient, ACS (Consumer) URL Validator, and ACS (Consumer) URL to the ACS URL.
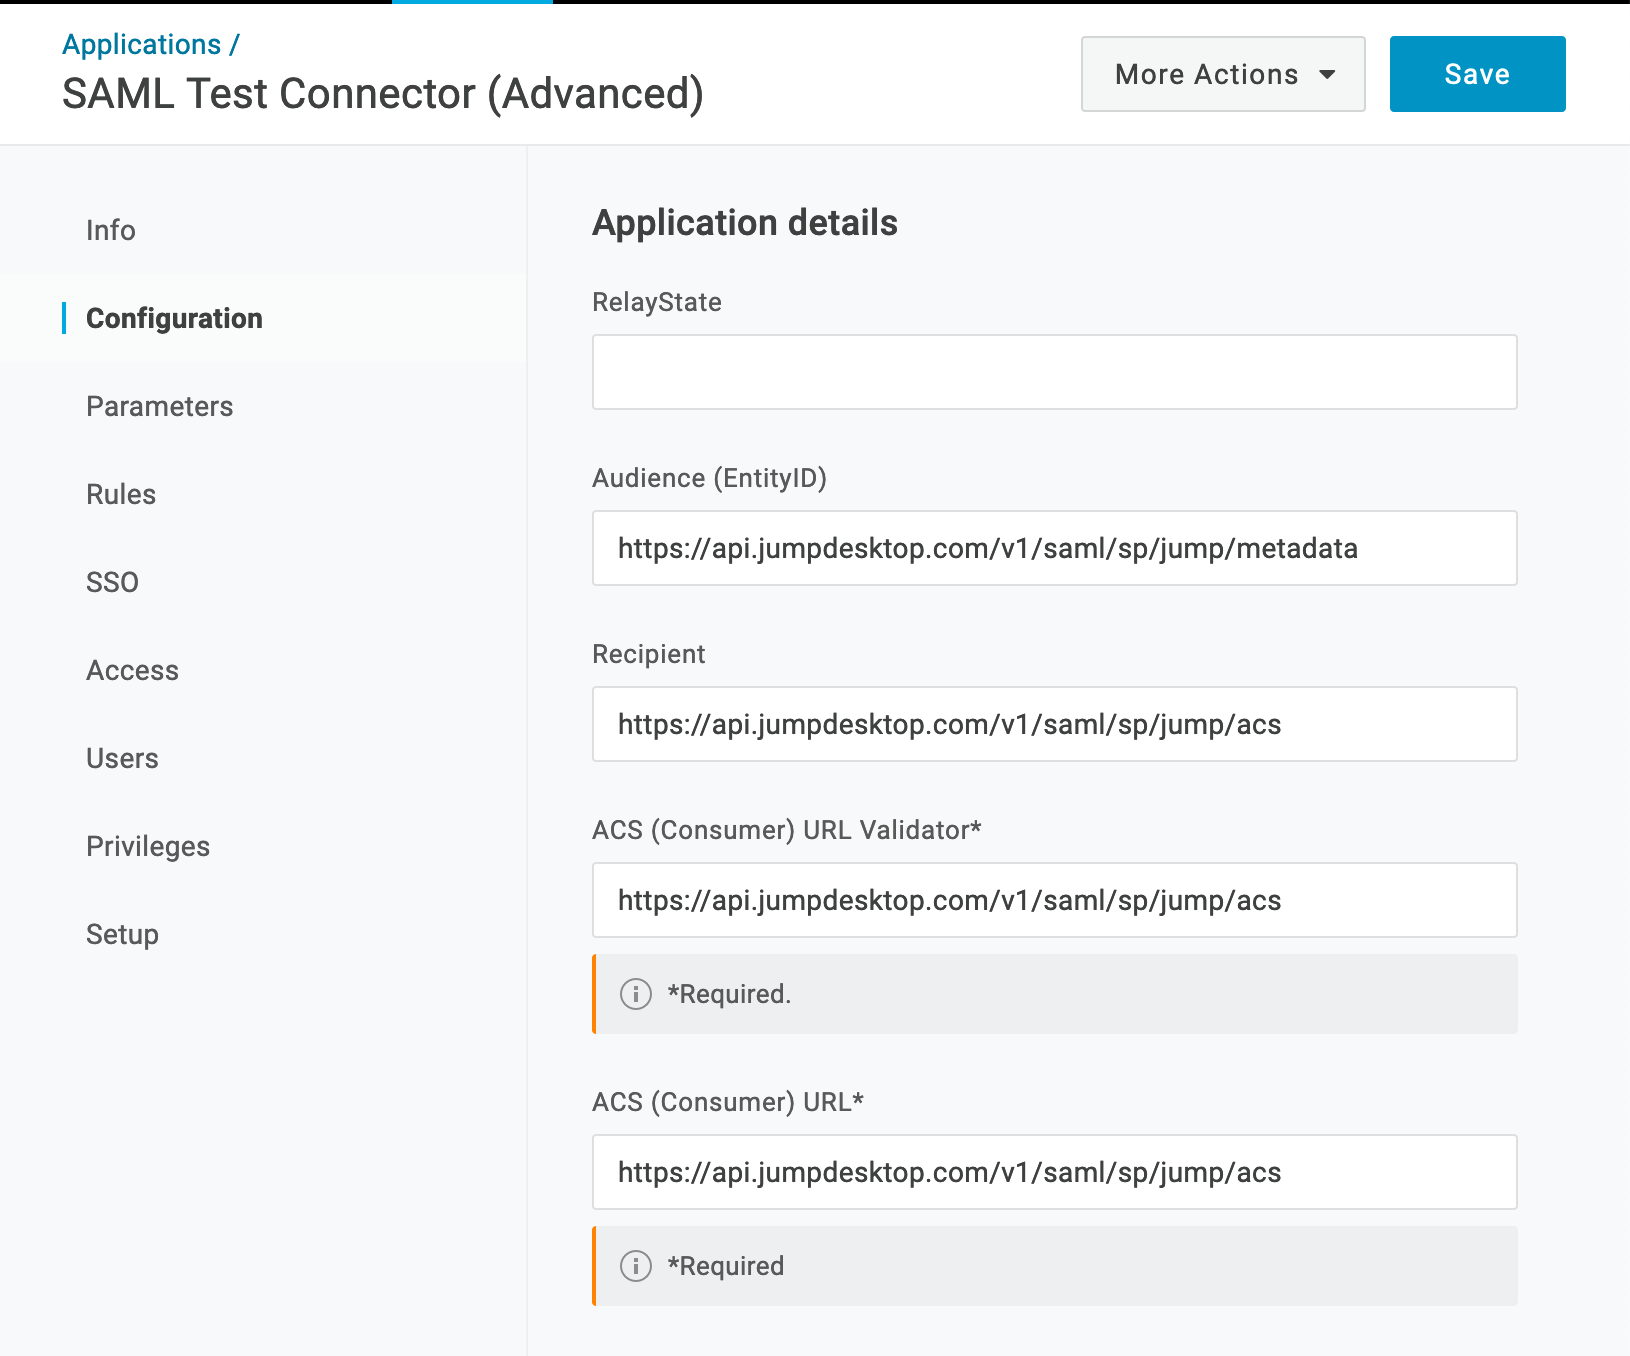
-
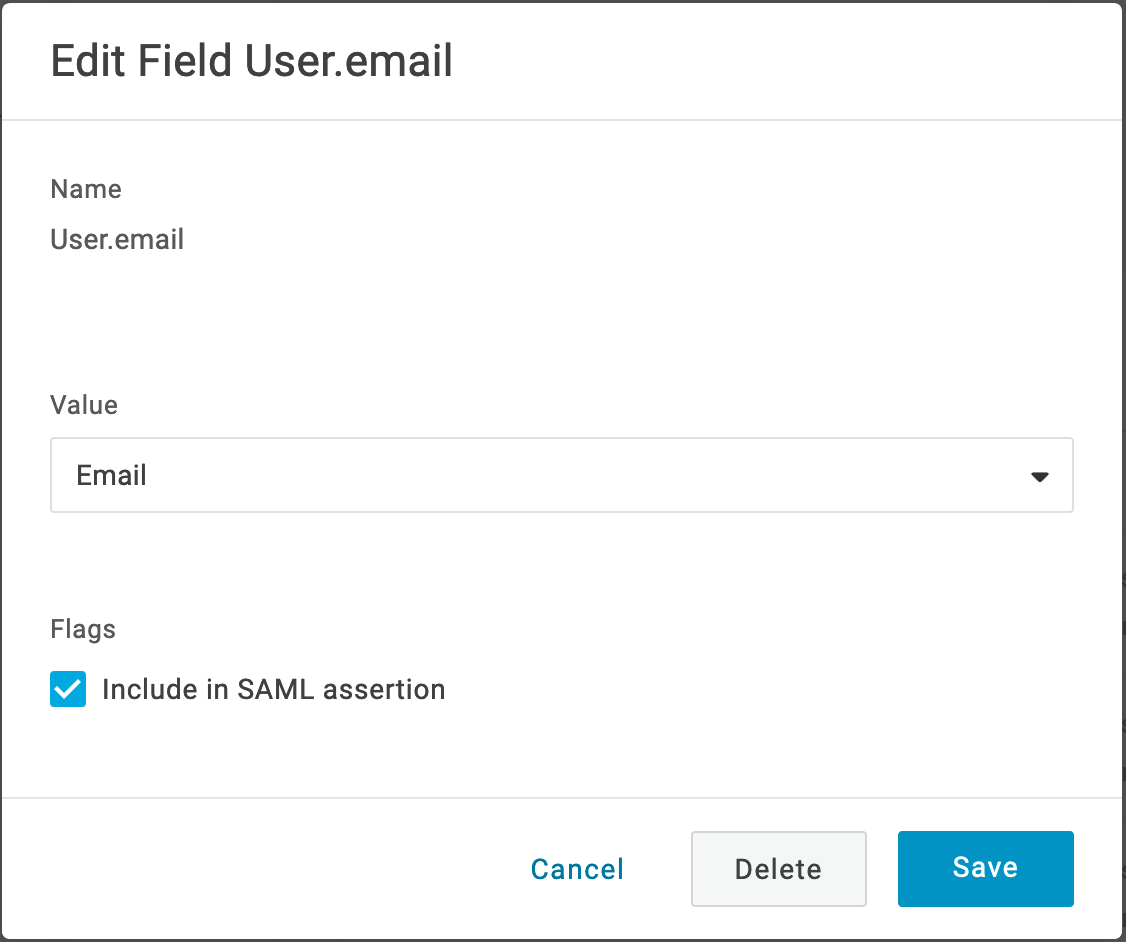
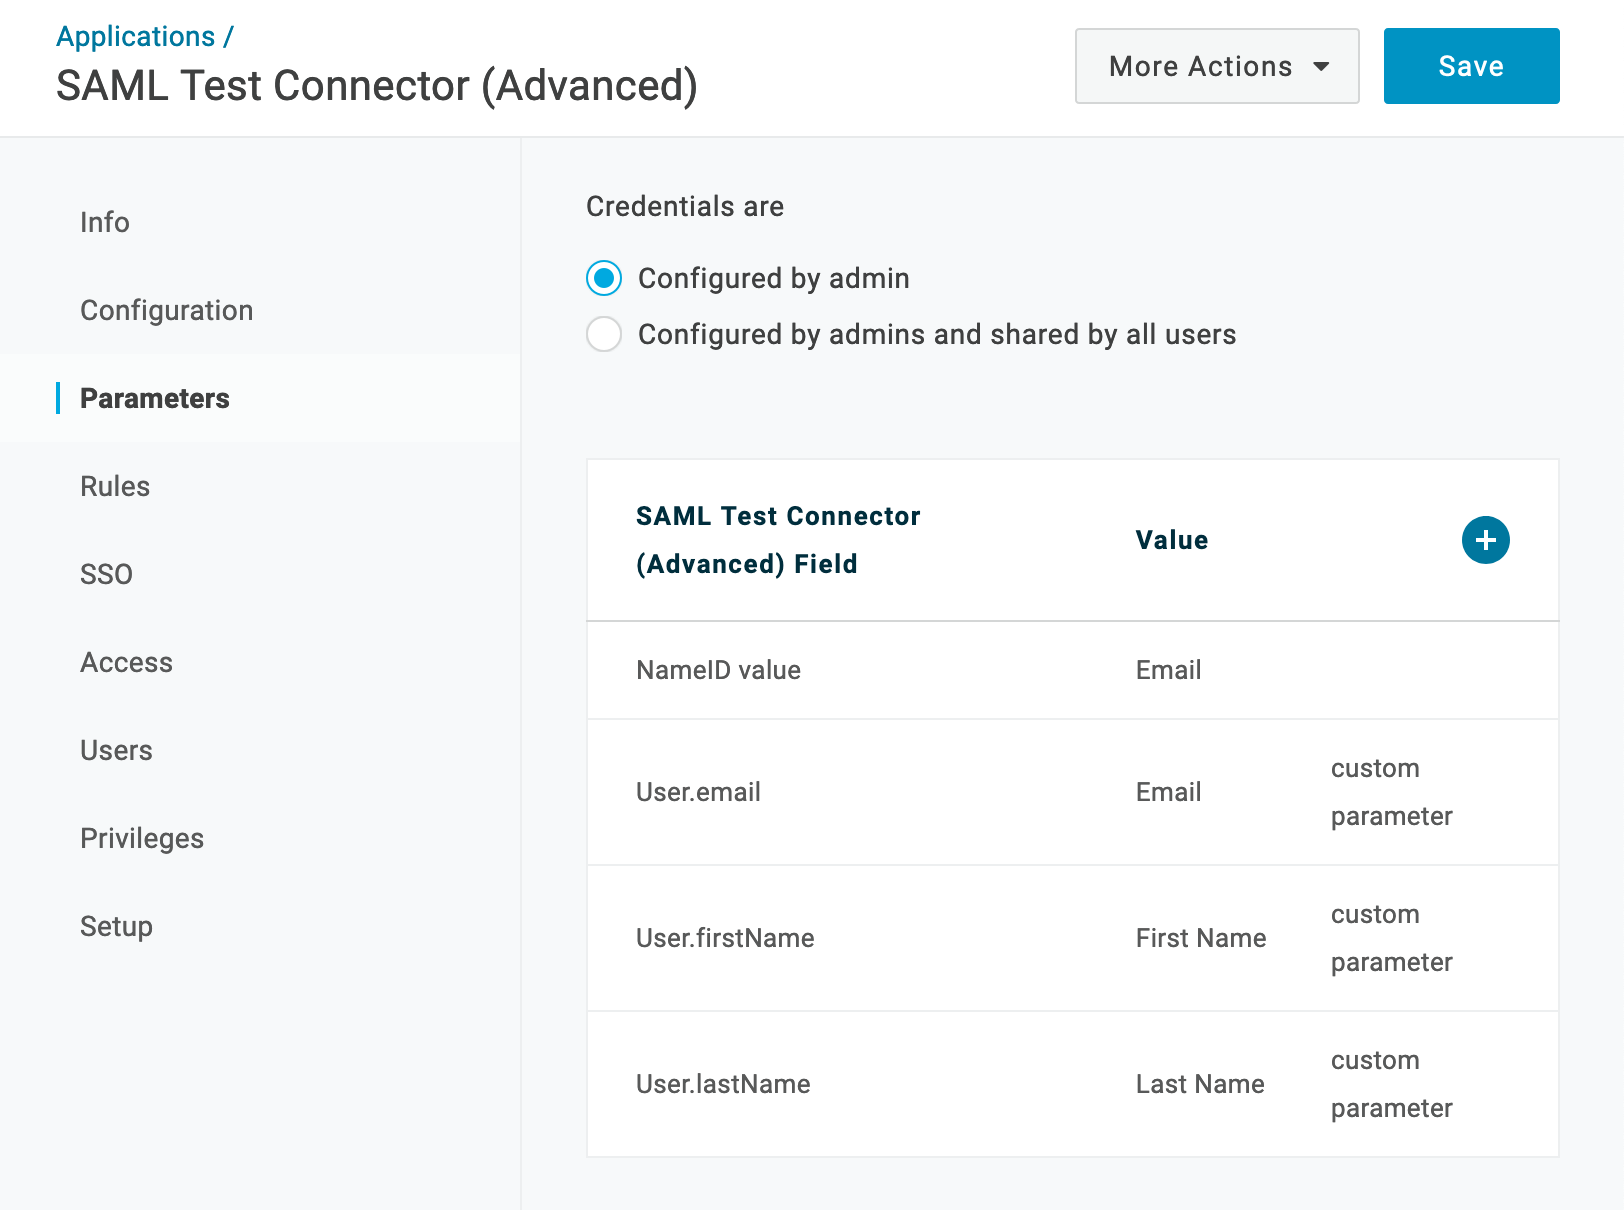
In Parameters, add
User.email(Email),User.firstName(First Name), andUser.lastName(Last Name), each with Include in SAML assertion checked.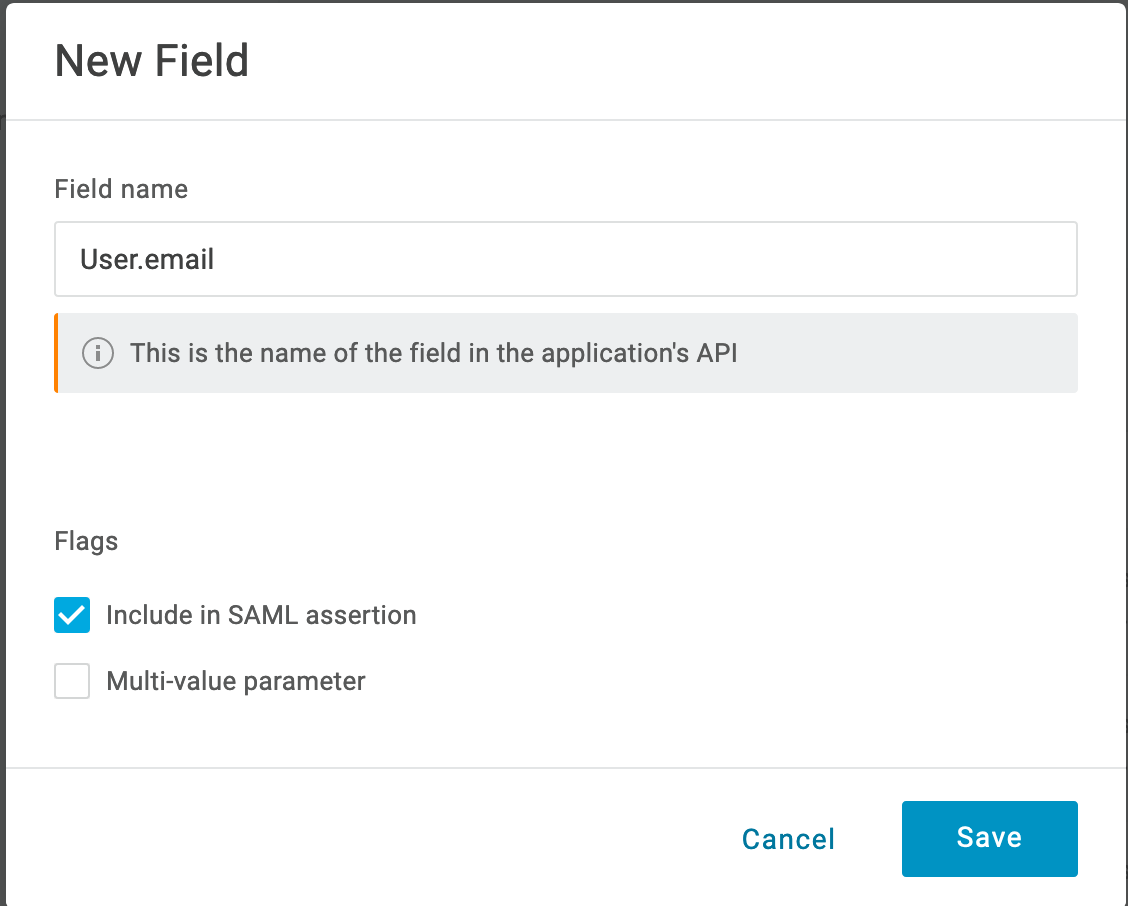
-
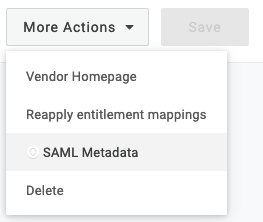
Click More Actions > SAML Metadata to download the metadata.
-
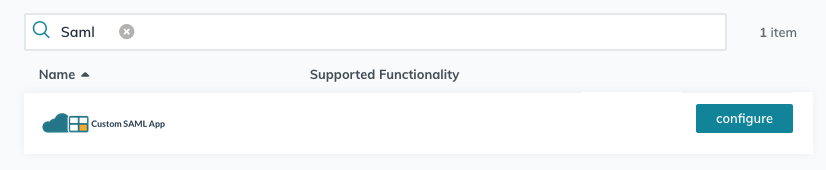
Add a Custom SAML App.
-
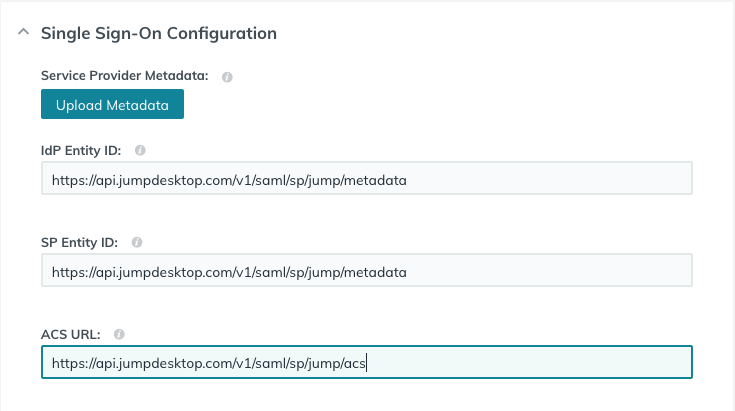
In Single Sign-On Configuration, set IdP Entity ID and SP Entity ID to the Entity ID, and ACS URL to the ACS URL.
-
In User Attribute Mapping, add
User.email,User.firstName, andUser.lastName.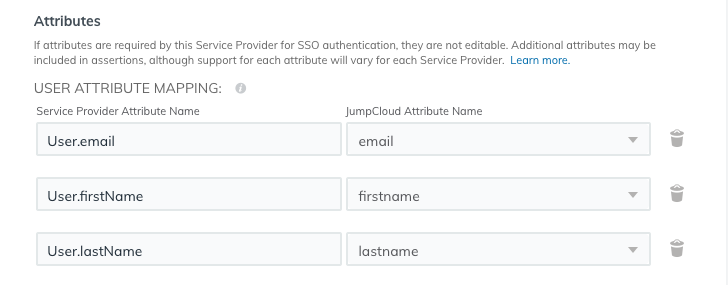
-
In User Groups, select who can sign in. Click Activate.
-
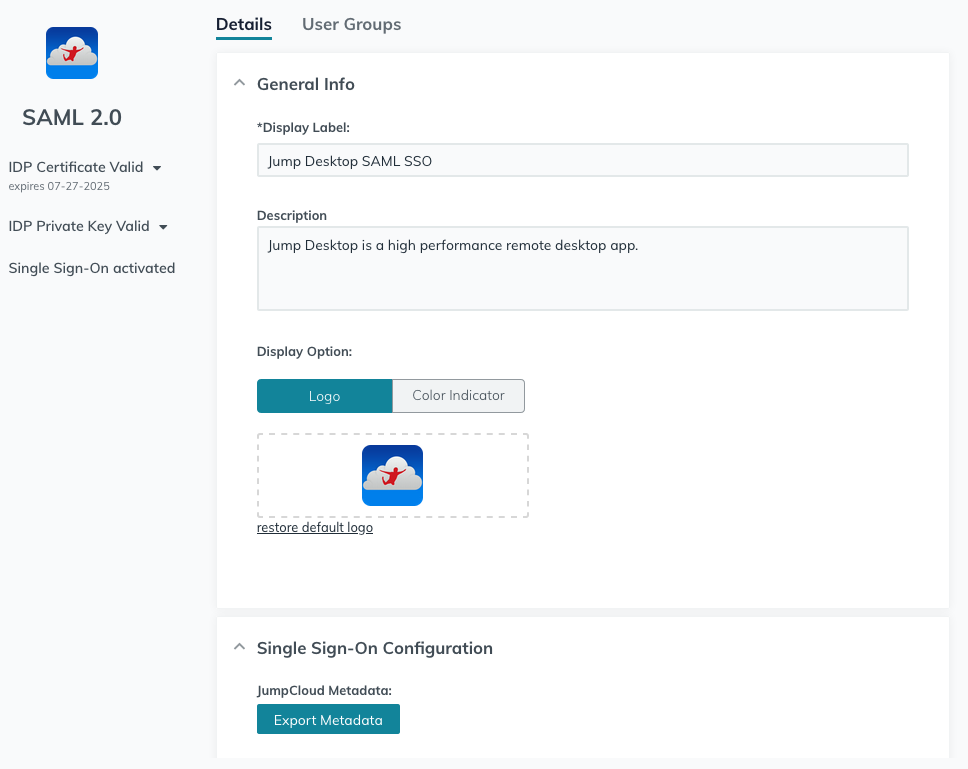
Open the app's Single Sign On Configuration and click Export Metadata.

- In the Teams dashboard, click Manage SAML SSO > Download SP Metadata.
-
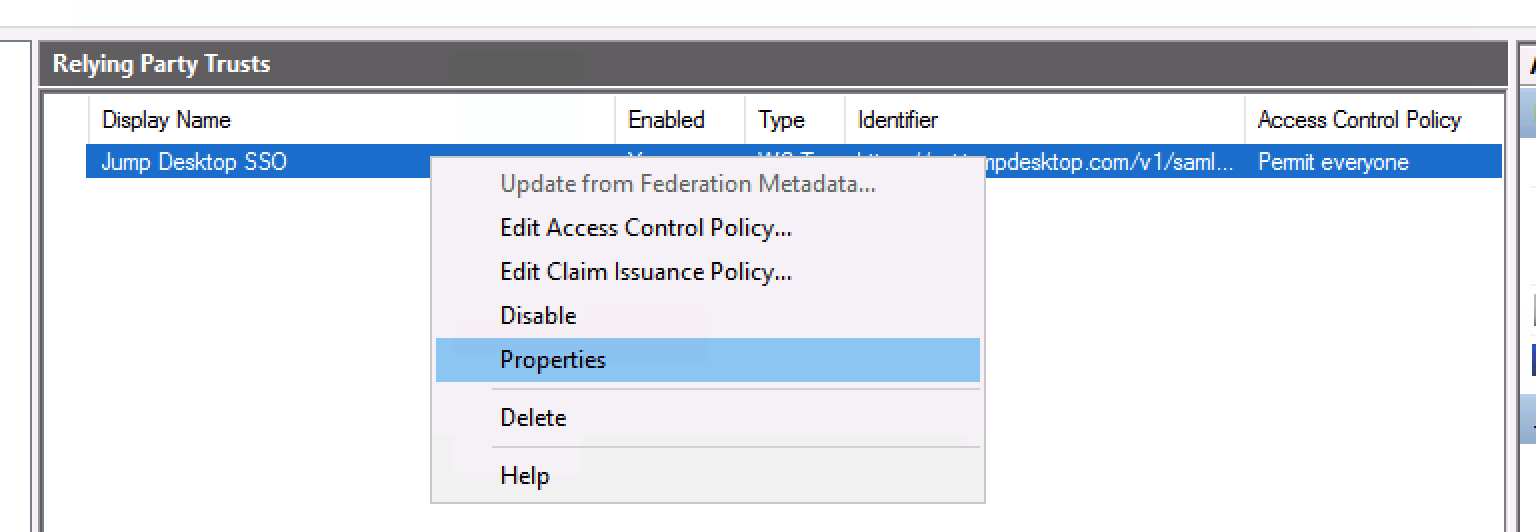
In AD FS Management, add a claims-aware Relying Party Trust and import the SP metadata file.
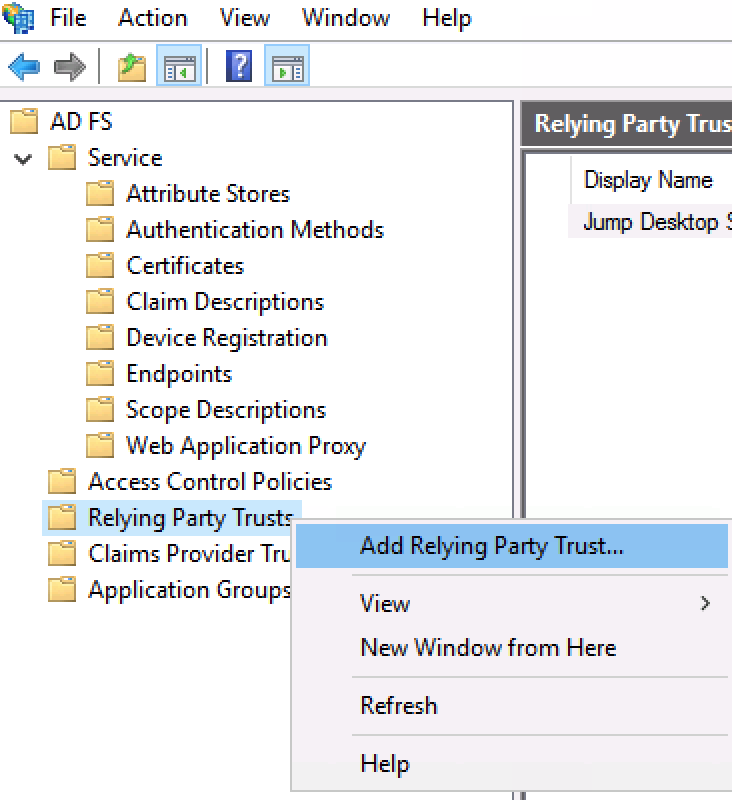
-
Add a Send LDAP Attributes as Claims rule: E-Mail-Addresses →
user.email, Given-Name →user.firstname, Surname →user.lastname.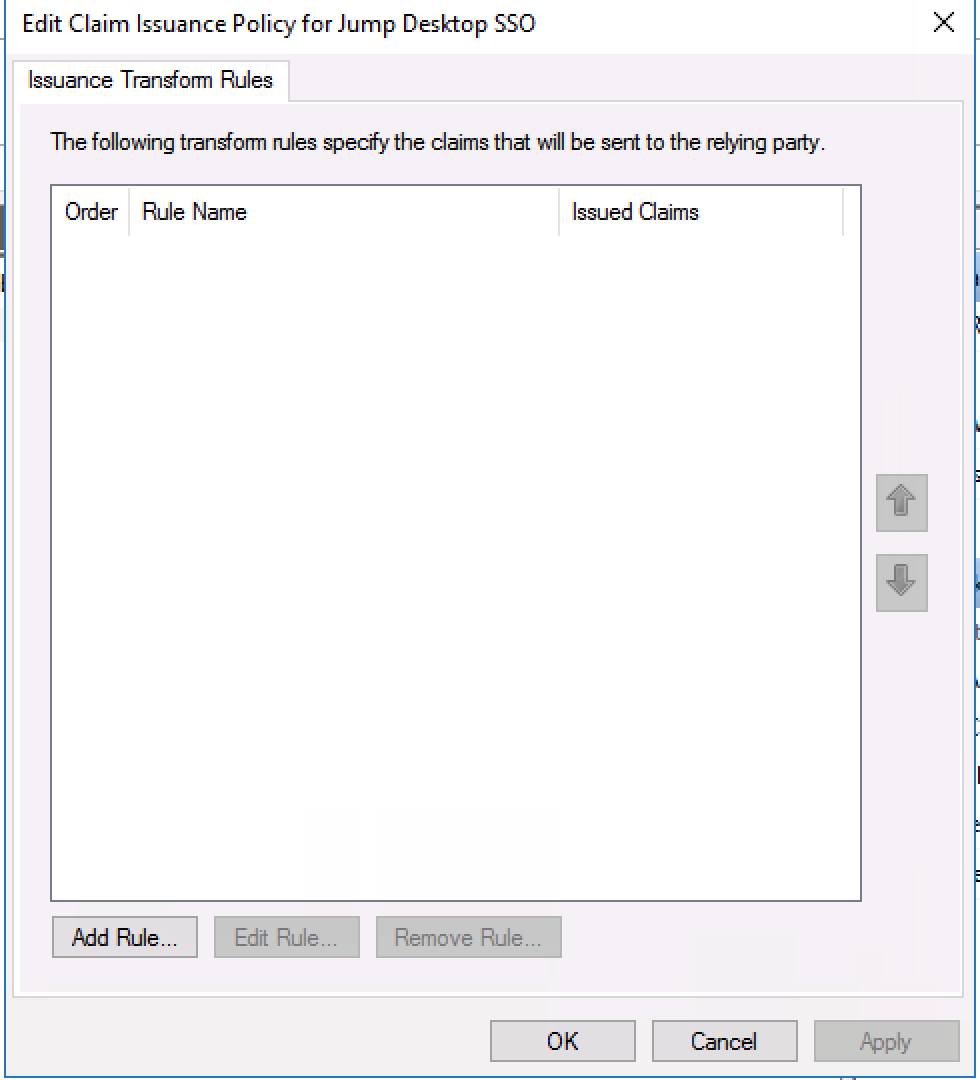
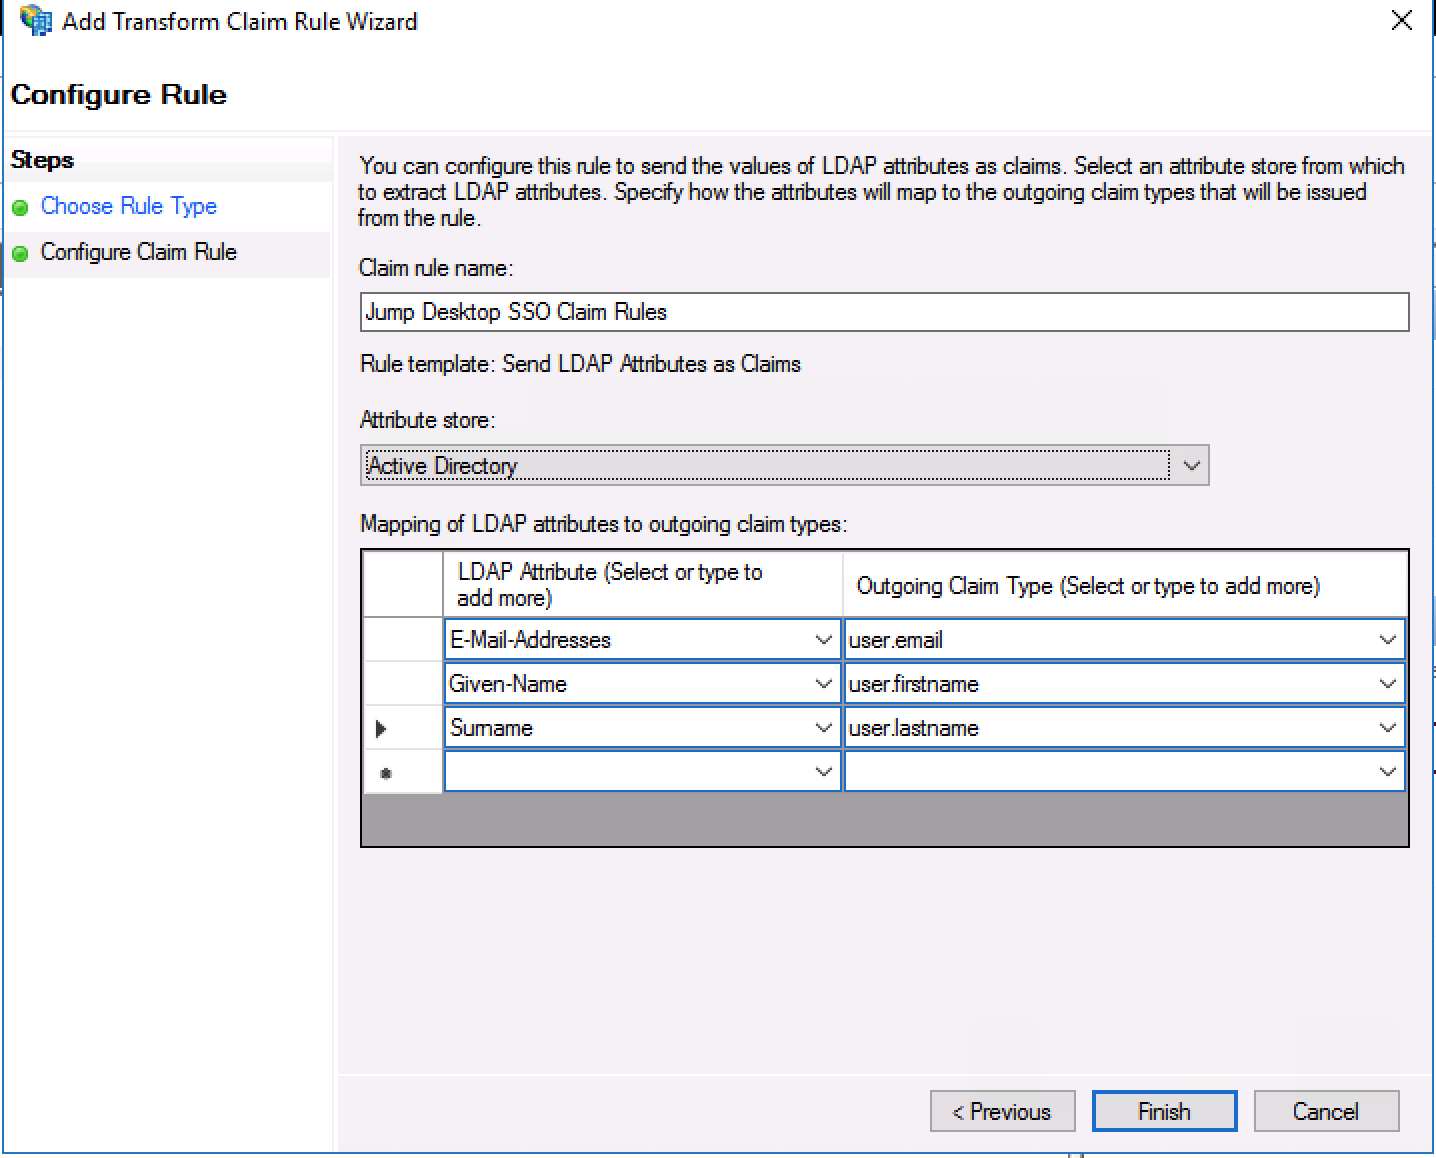
-
Add a Transform an Incoming Claim rule: Windows account name → Name ID, format Transient Identifier.
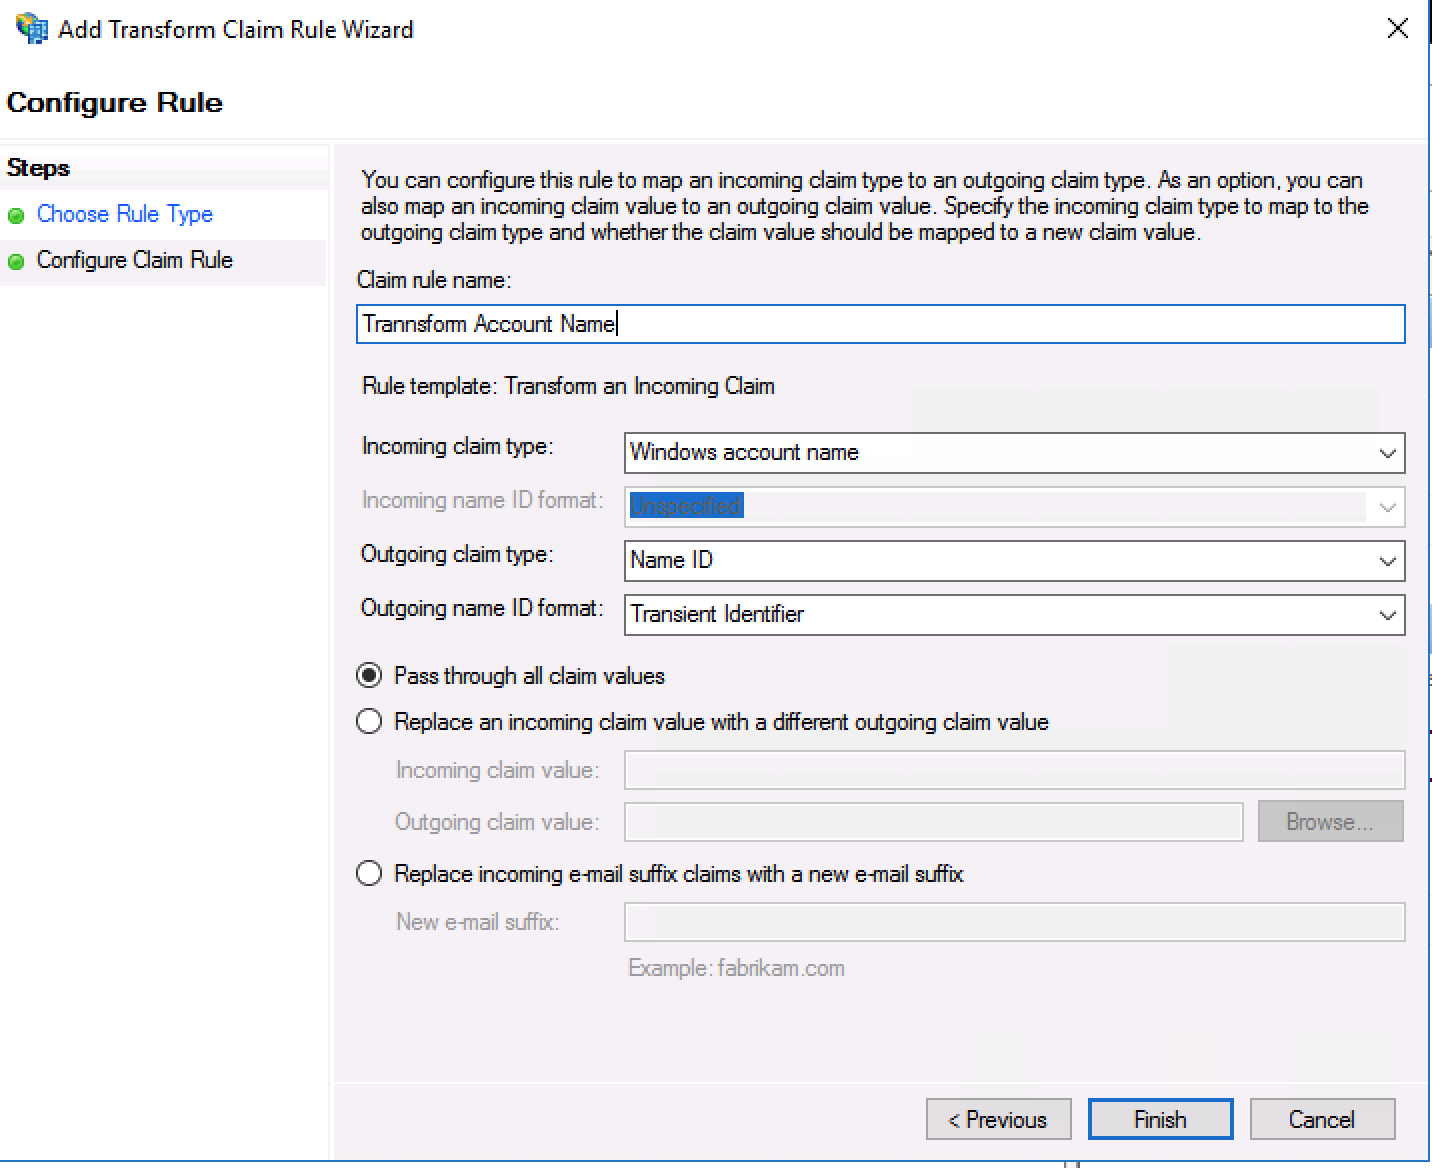
-
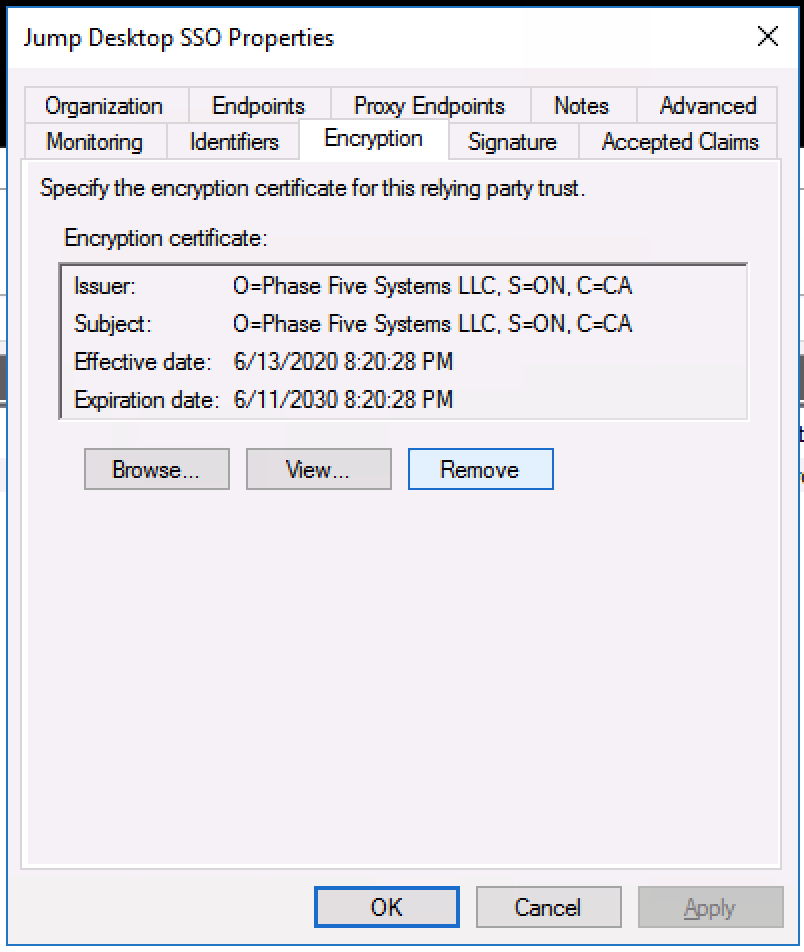
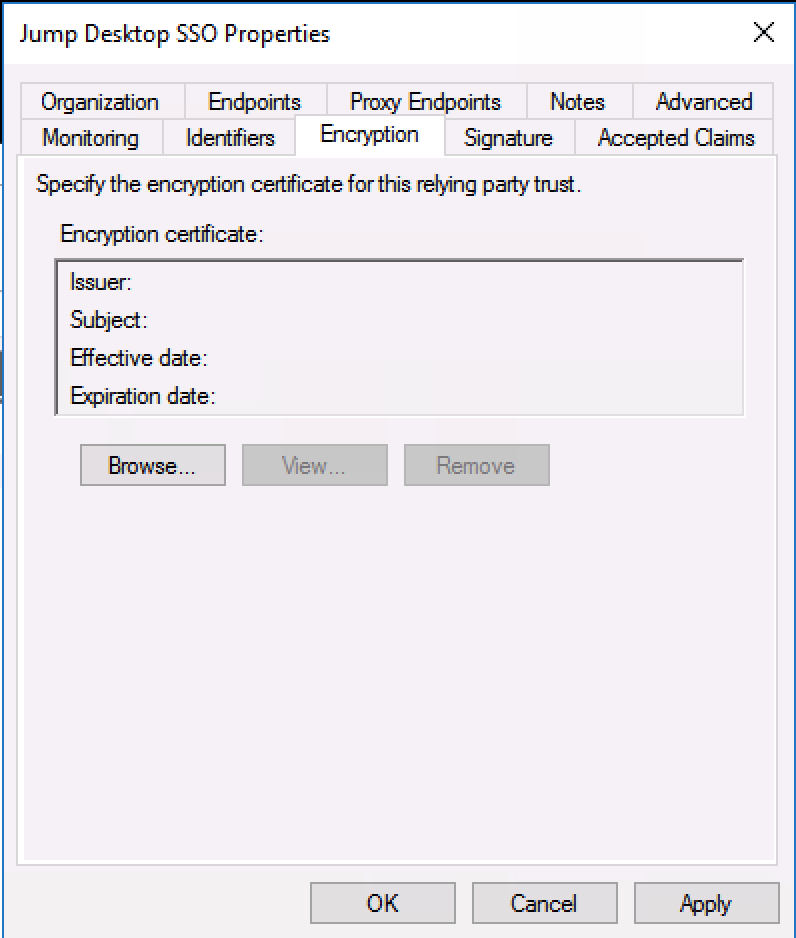
In the trust's Properties > Encryption, click Remove to remove the certificate.
-
Download
https://<your-adfs-server>/FederationMetadata/2007-06/FederationMetadata.xml.
-
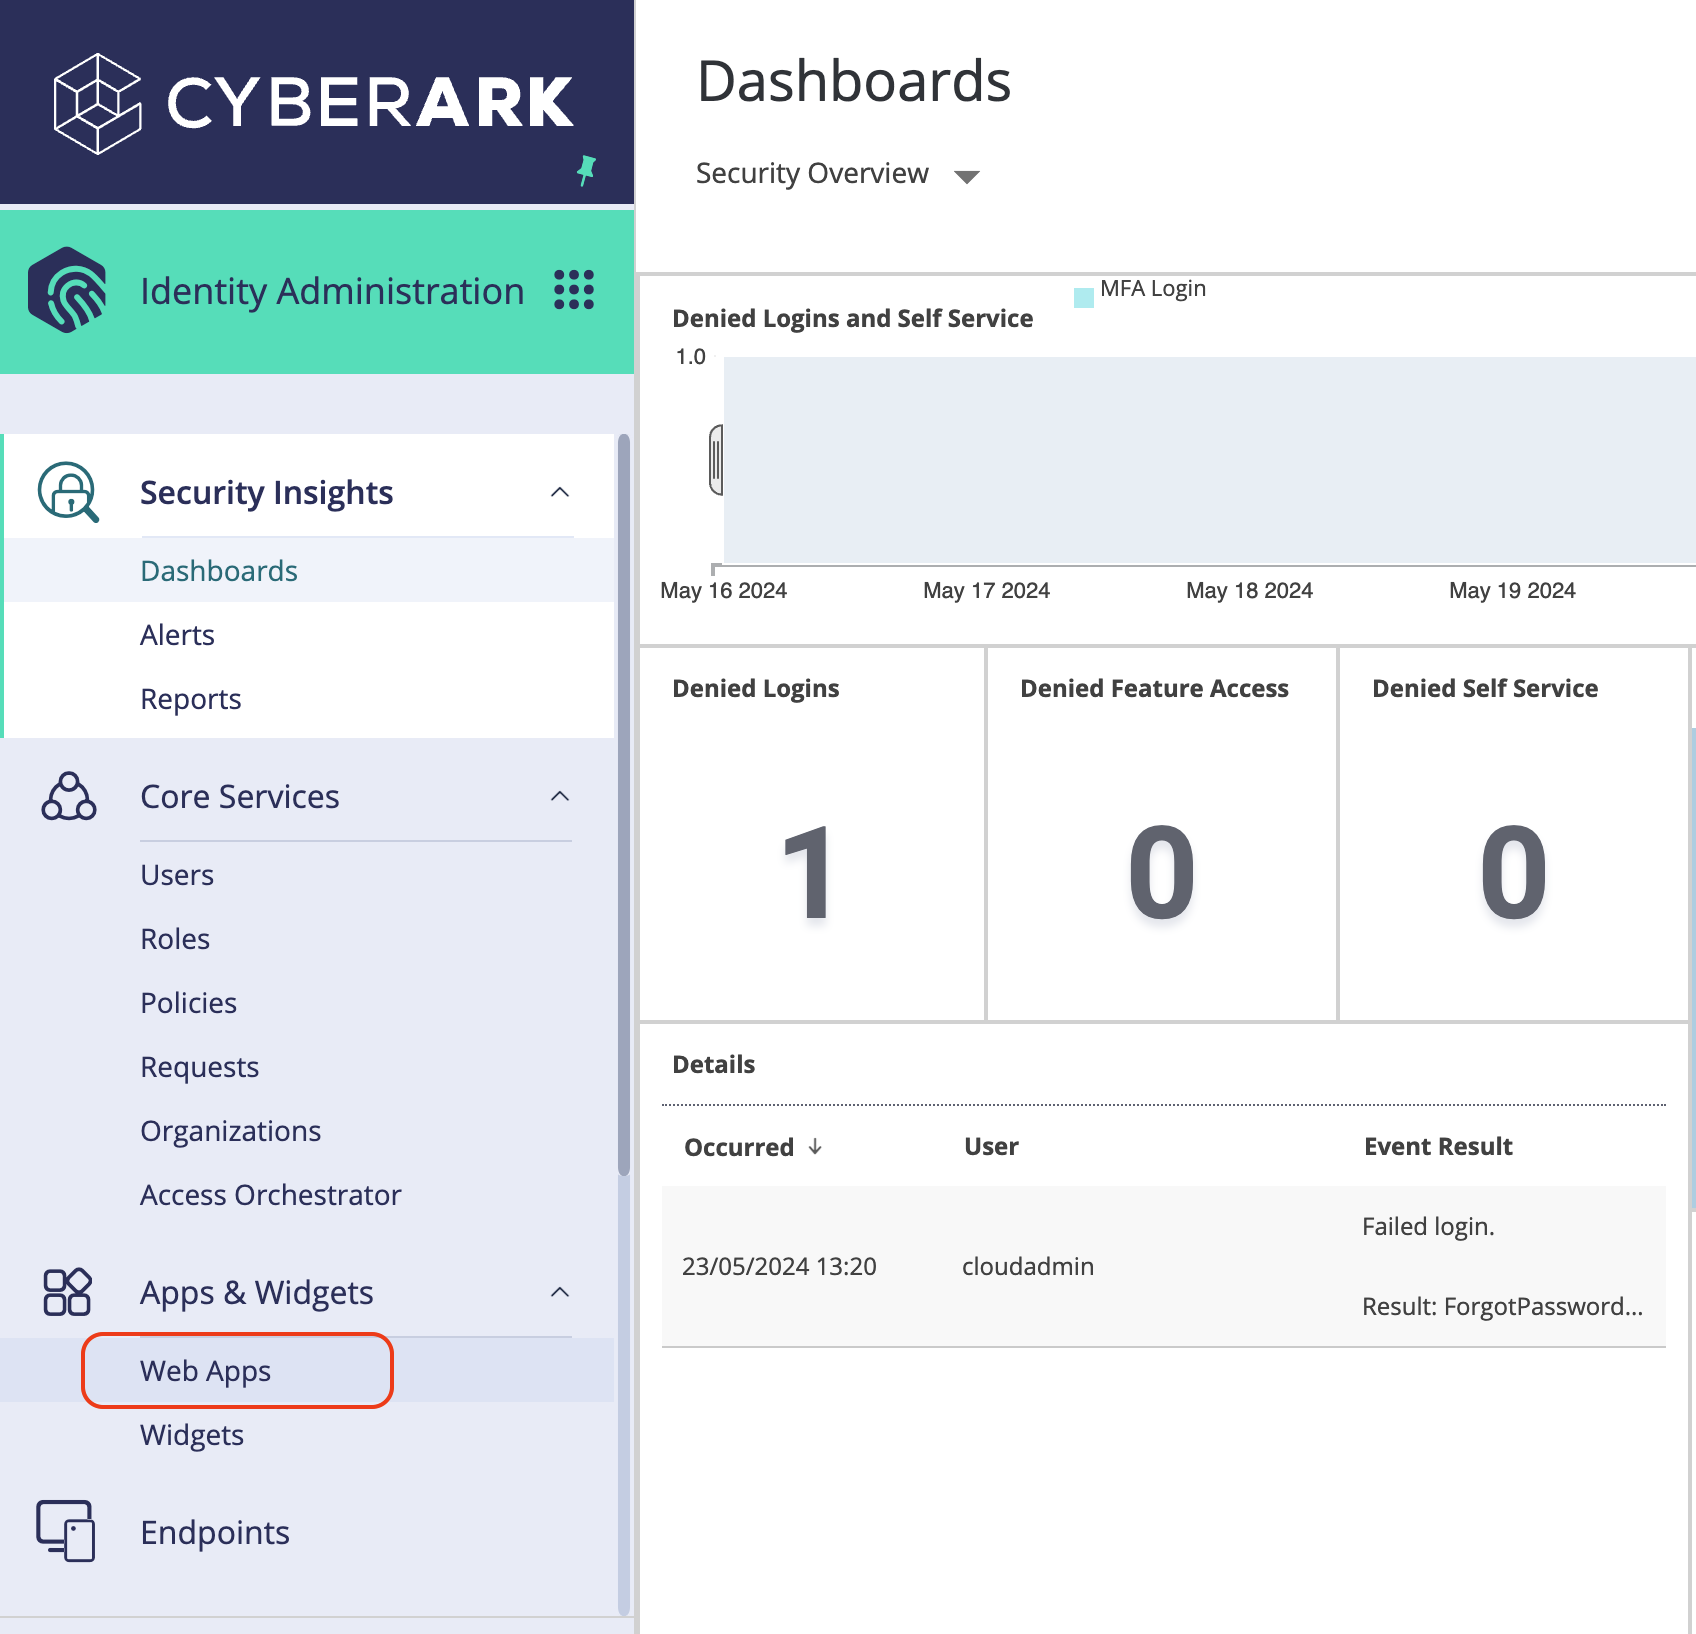
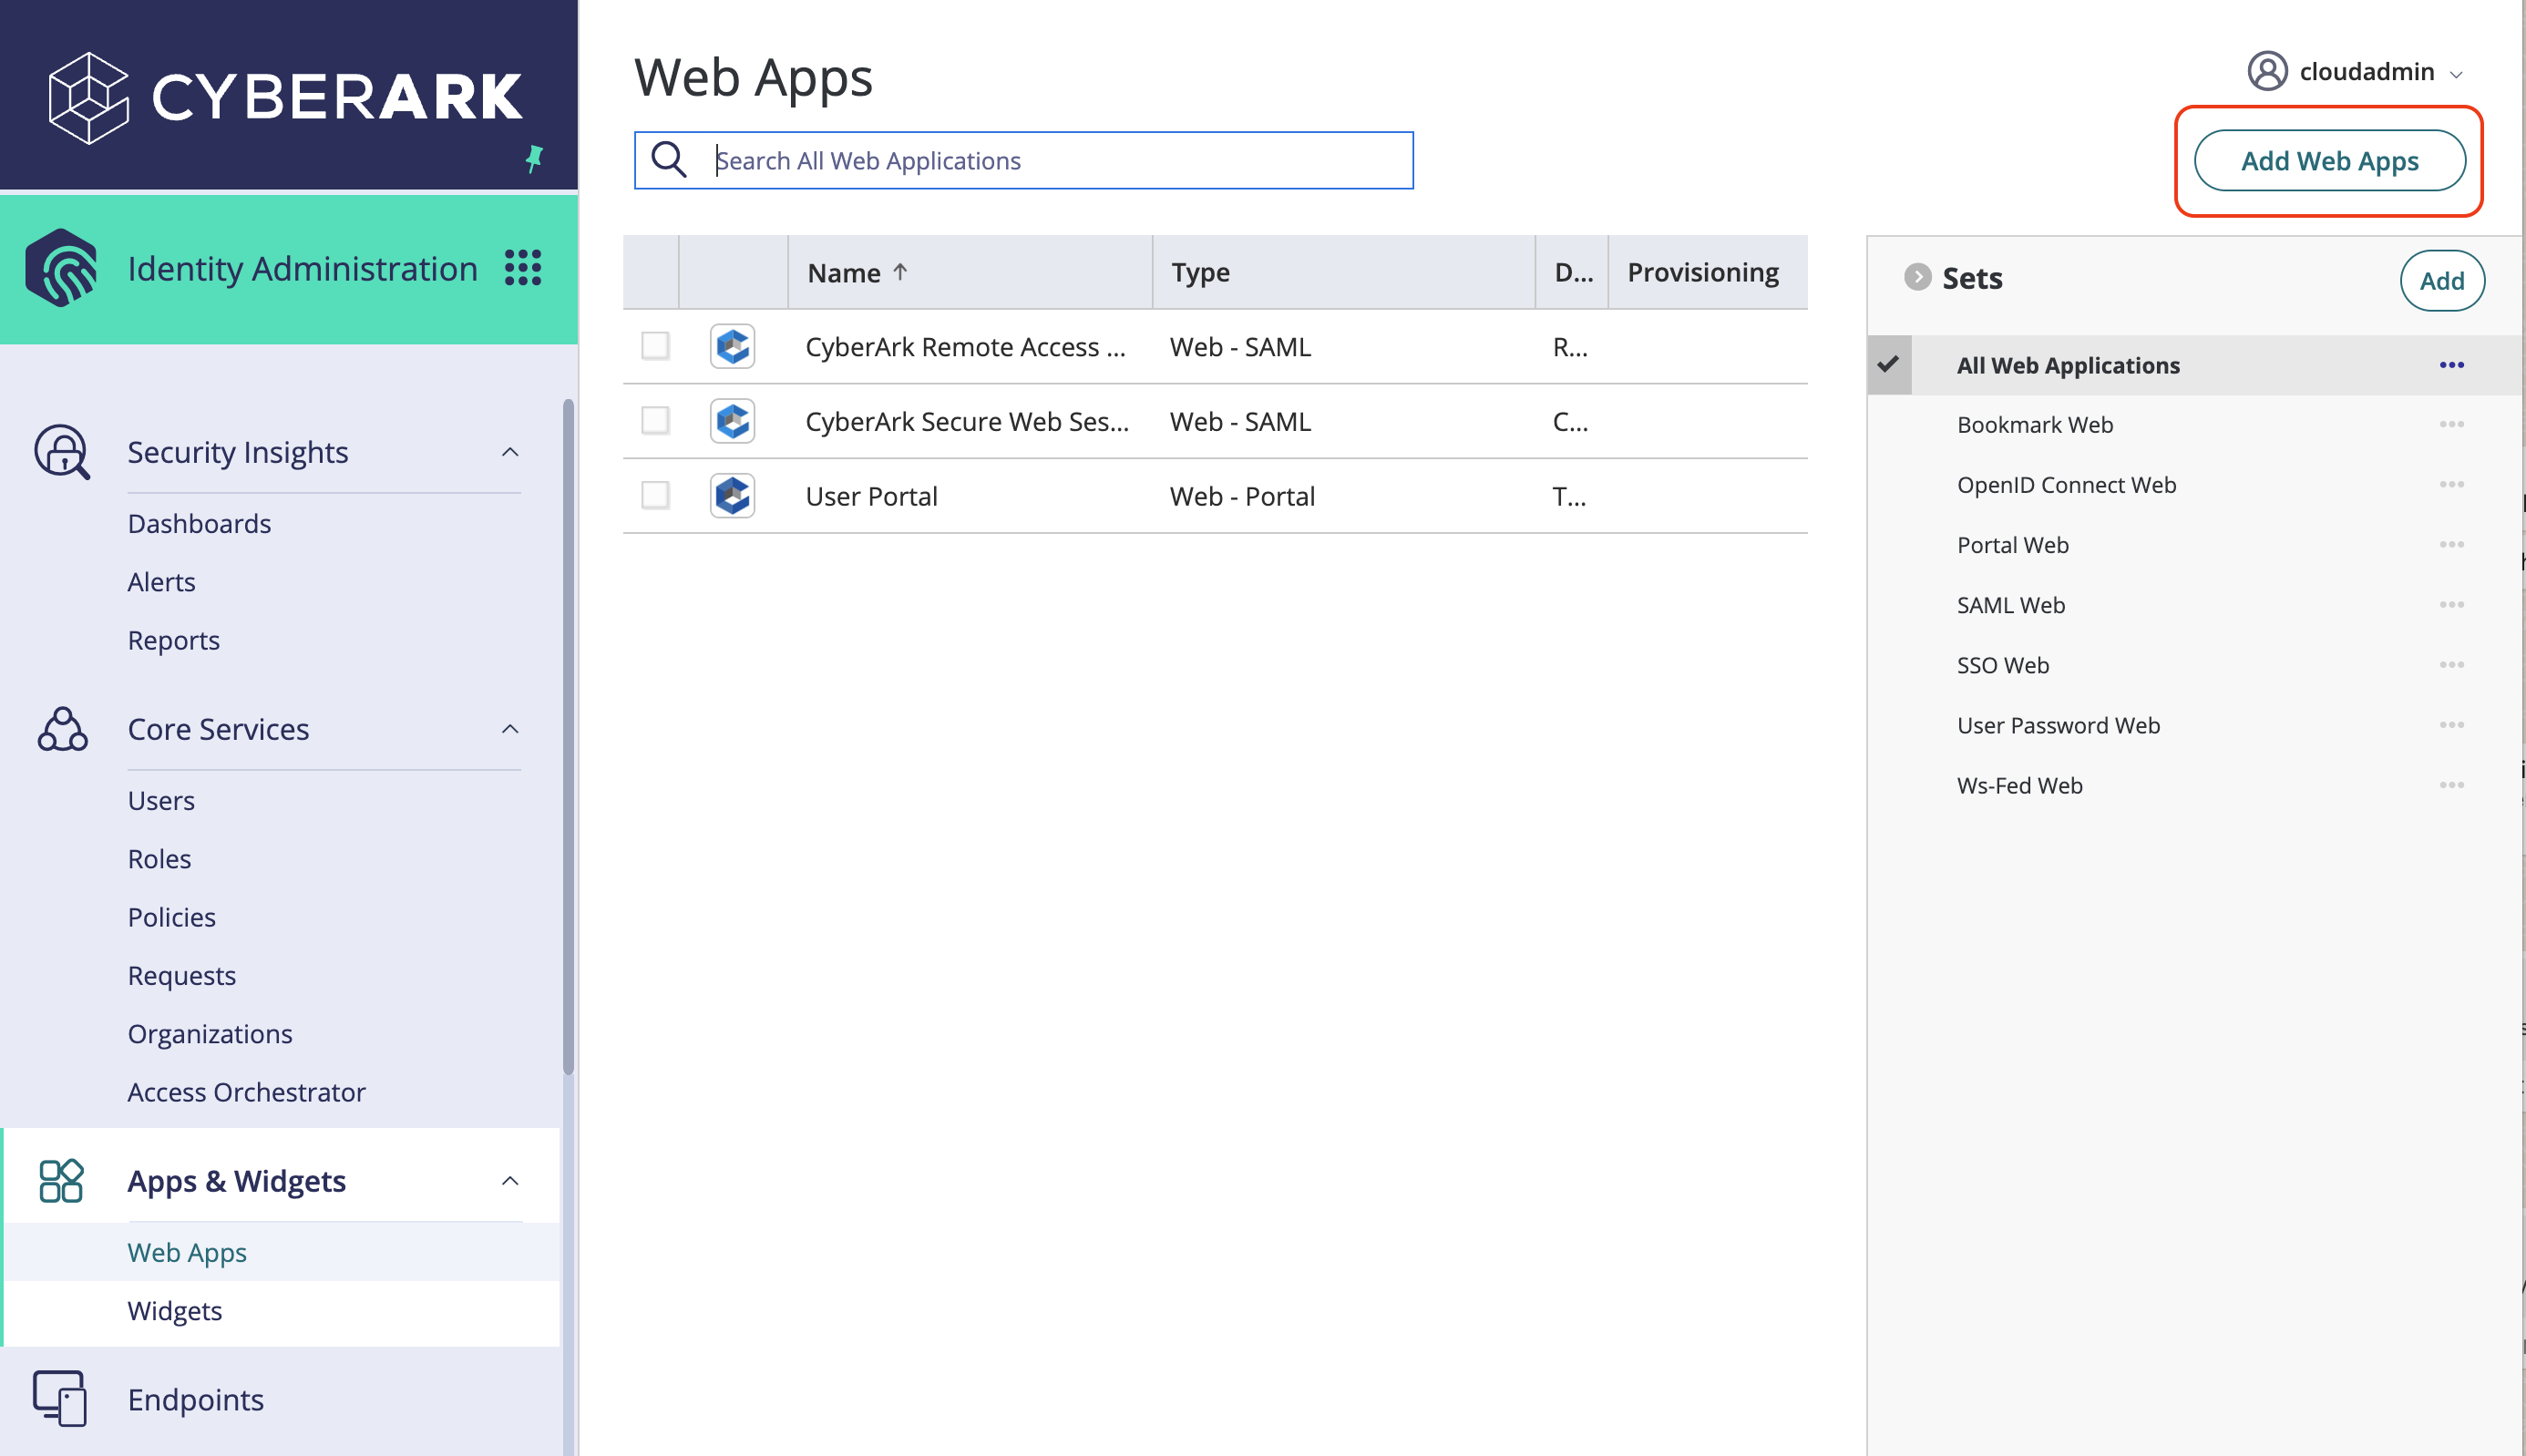
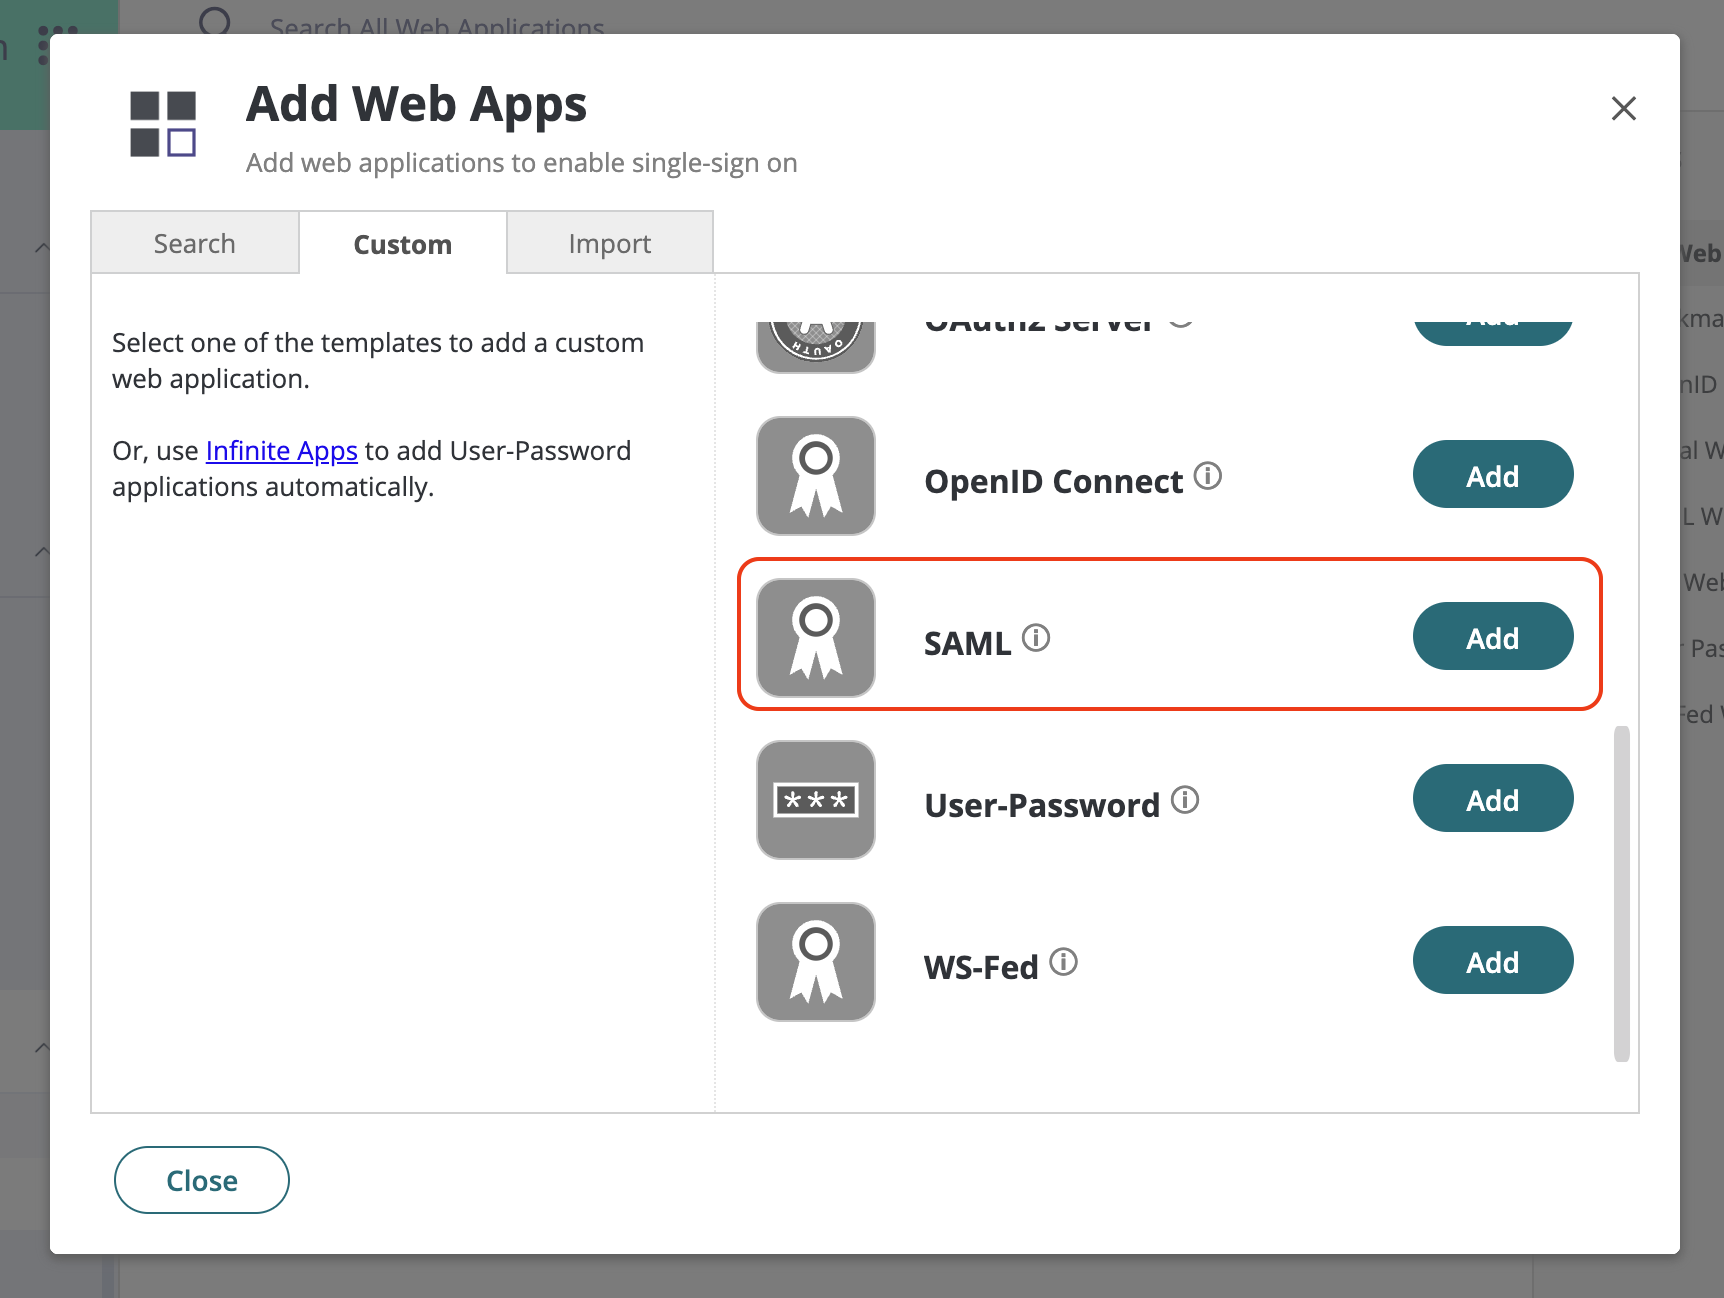
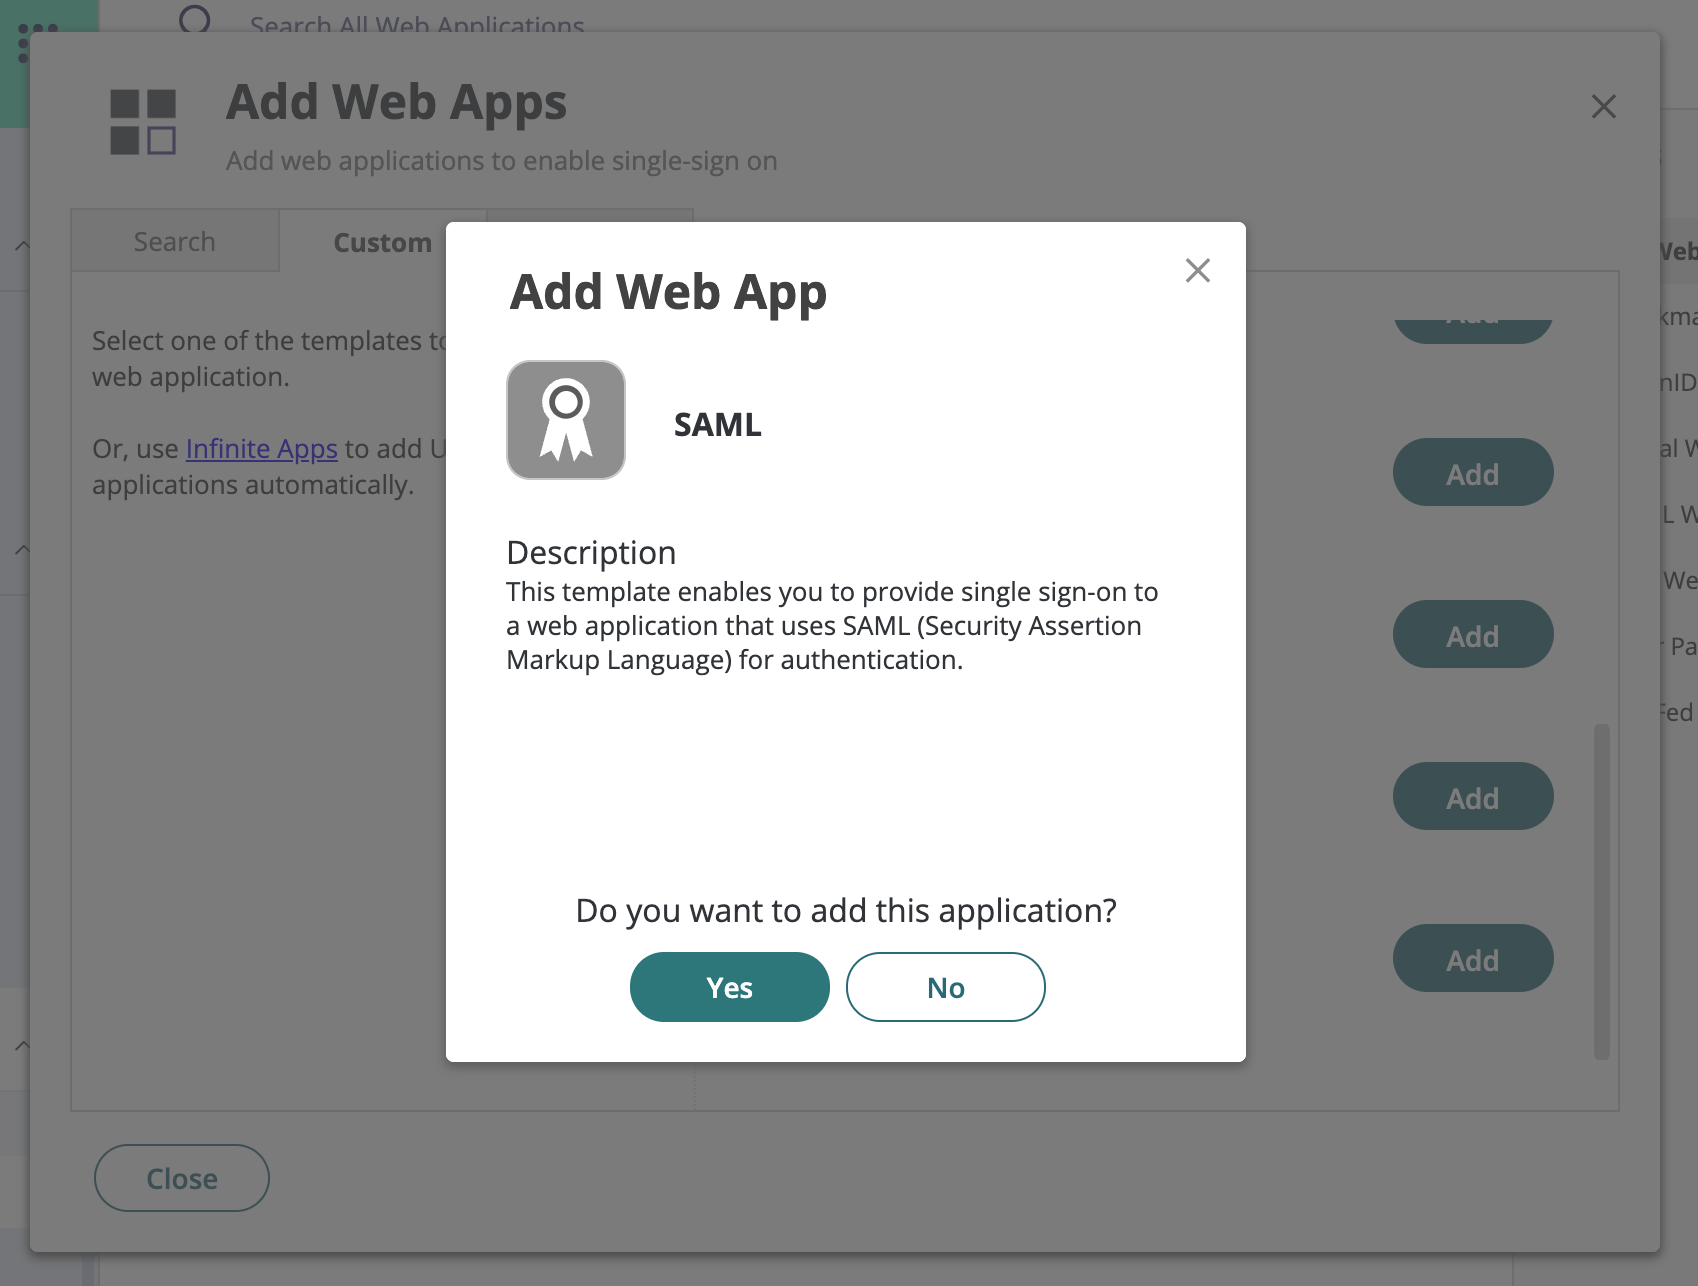
In Apps & Widgets > Web Apps, add a custom SAML app.
-
In Trust, enter the Entity ID and ACS URL, and download the metadata file.
-
In SAML Response, add attributes
User.email,User.firstName, andUser.lastNamemapped to the user's email, first name, and last name.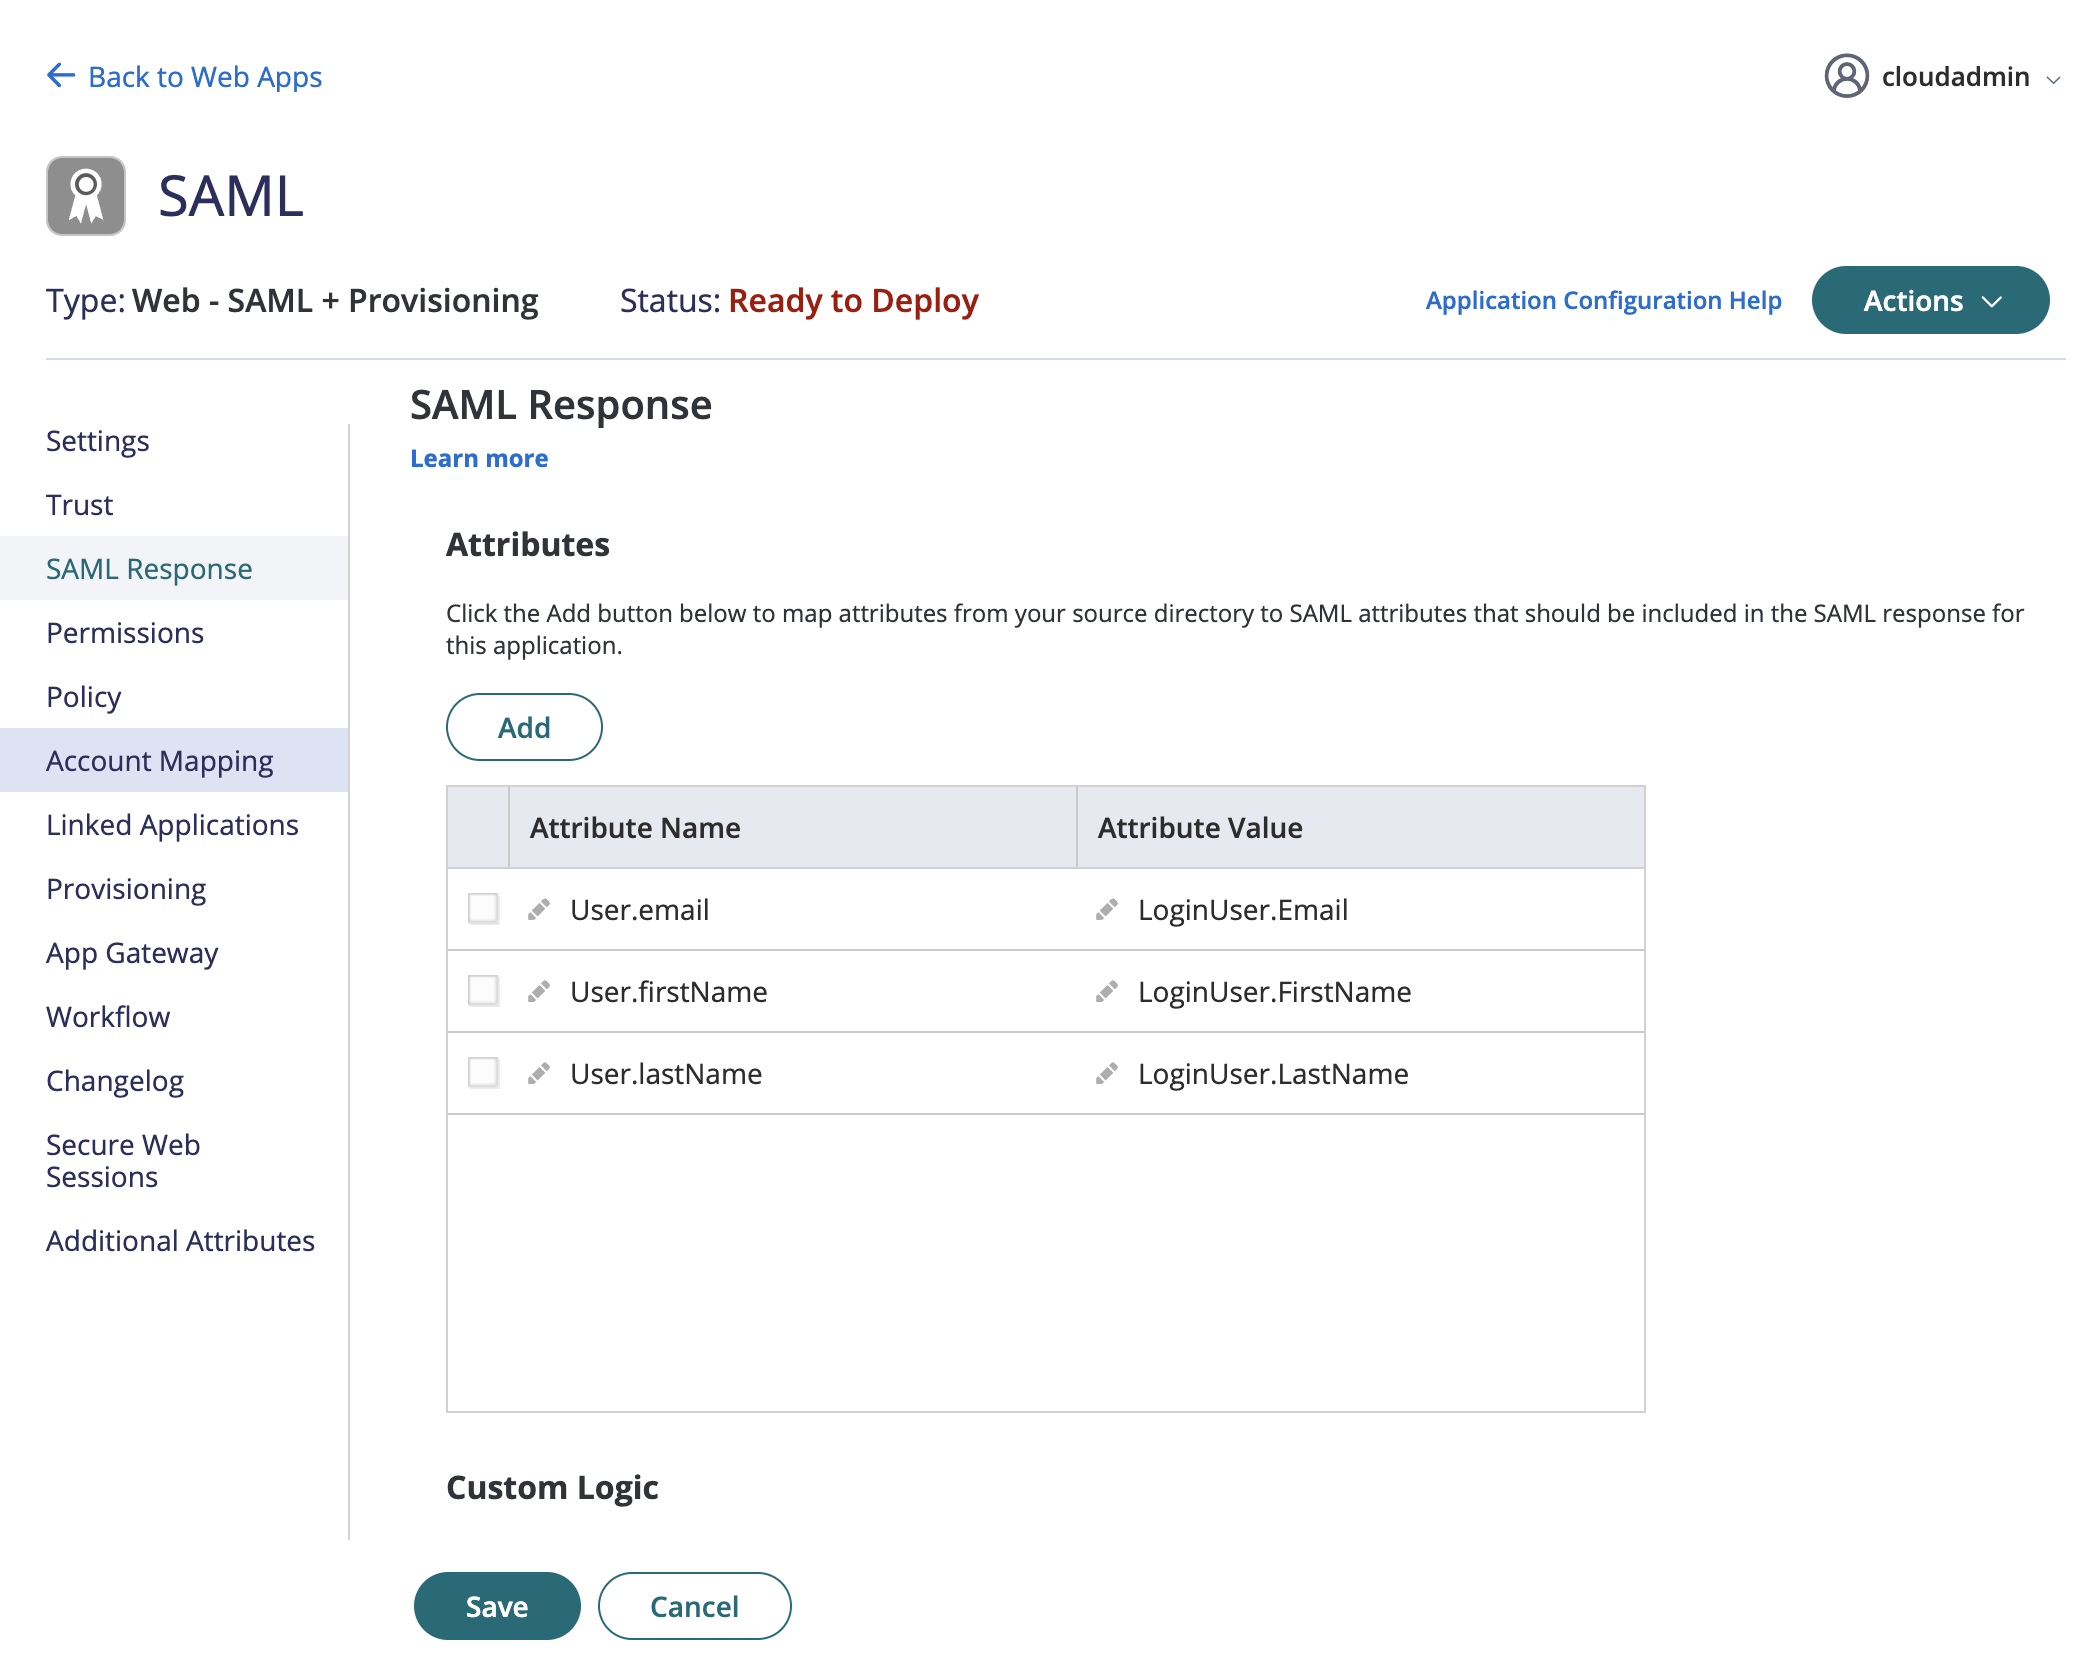
-
Add users or roles under Permissions, then save.
3. Upload the IdP metadata
- On your team's Security page, click Manage SAML SSO.
- Click Upload IDP Metadata and choose the file.
Team Single Sign On shows "Single sign on is enabled for your team."
4. Link your own account and test
Every existing user links SSO to their account once. Do it yourself first to test the setup.
-
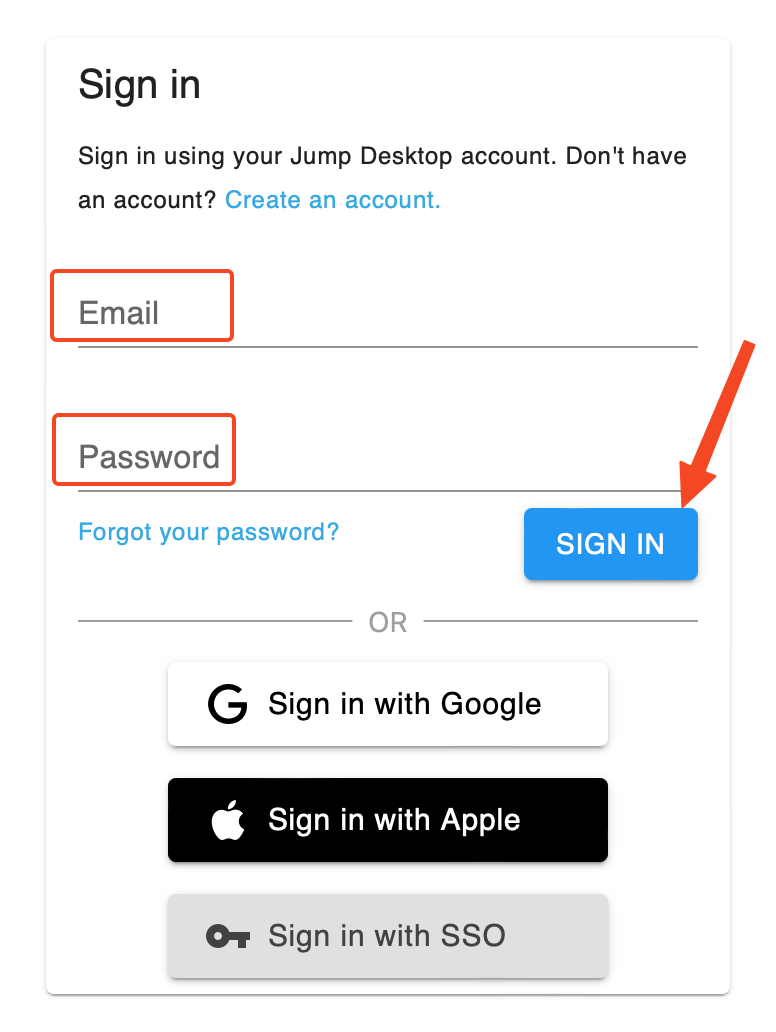
Sign in to the Teams dashboard with your current account.
-
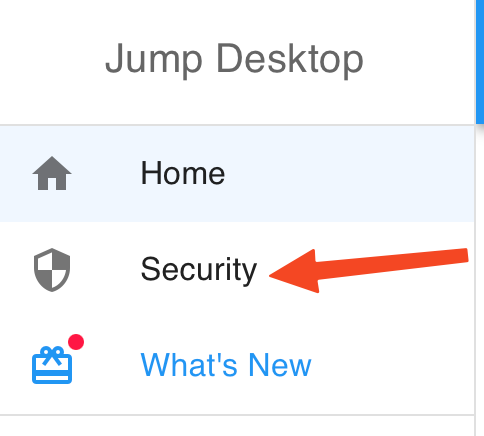
In the sidebar, click Security (your account's page, not the team's).
-
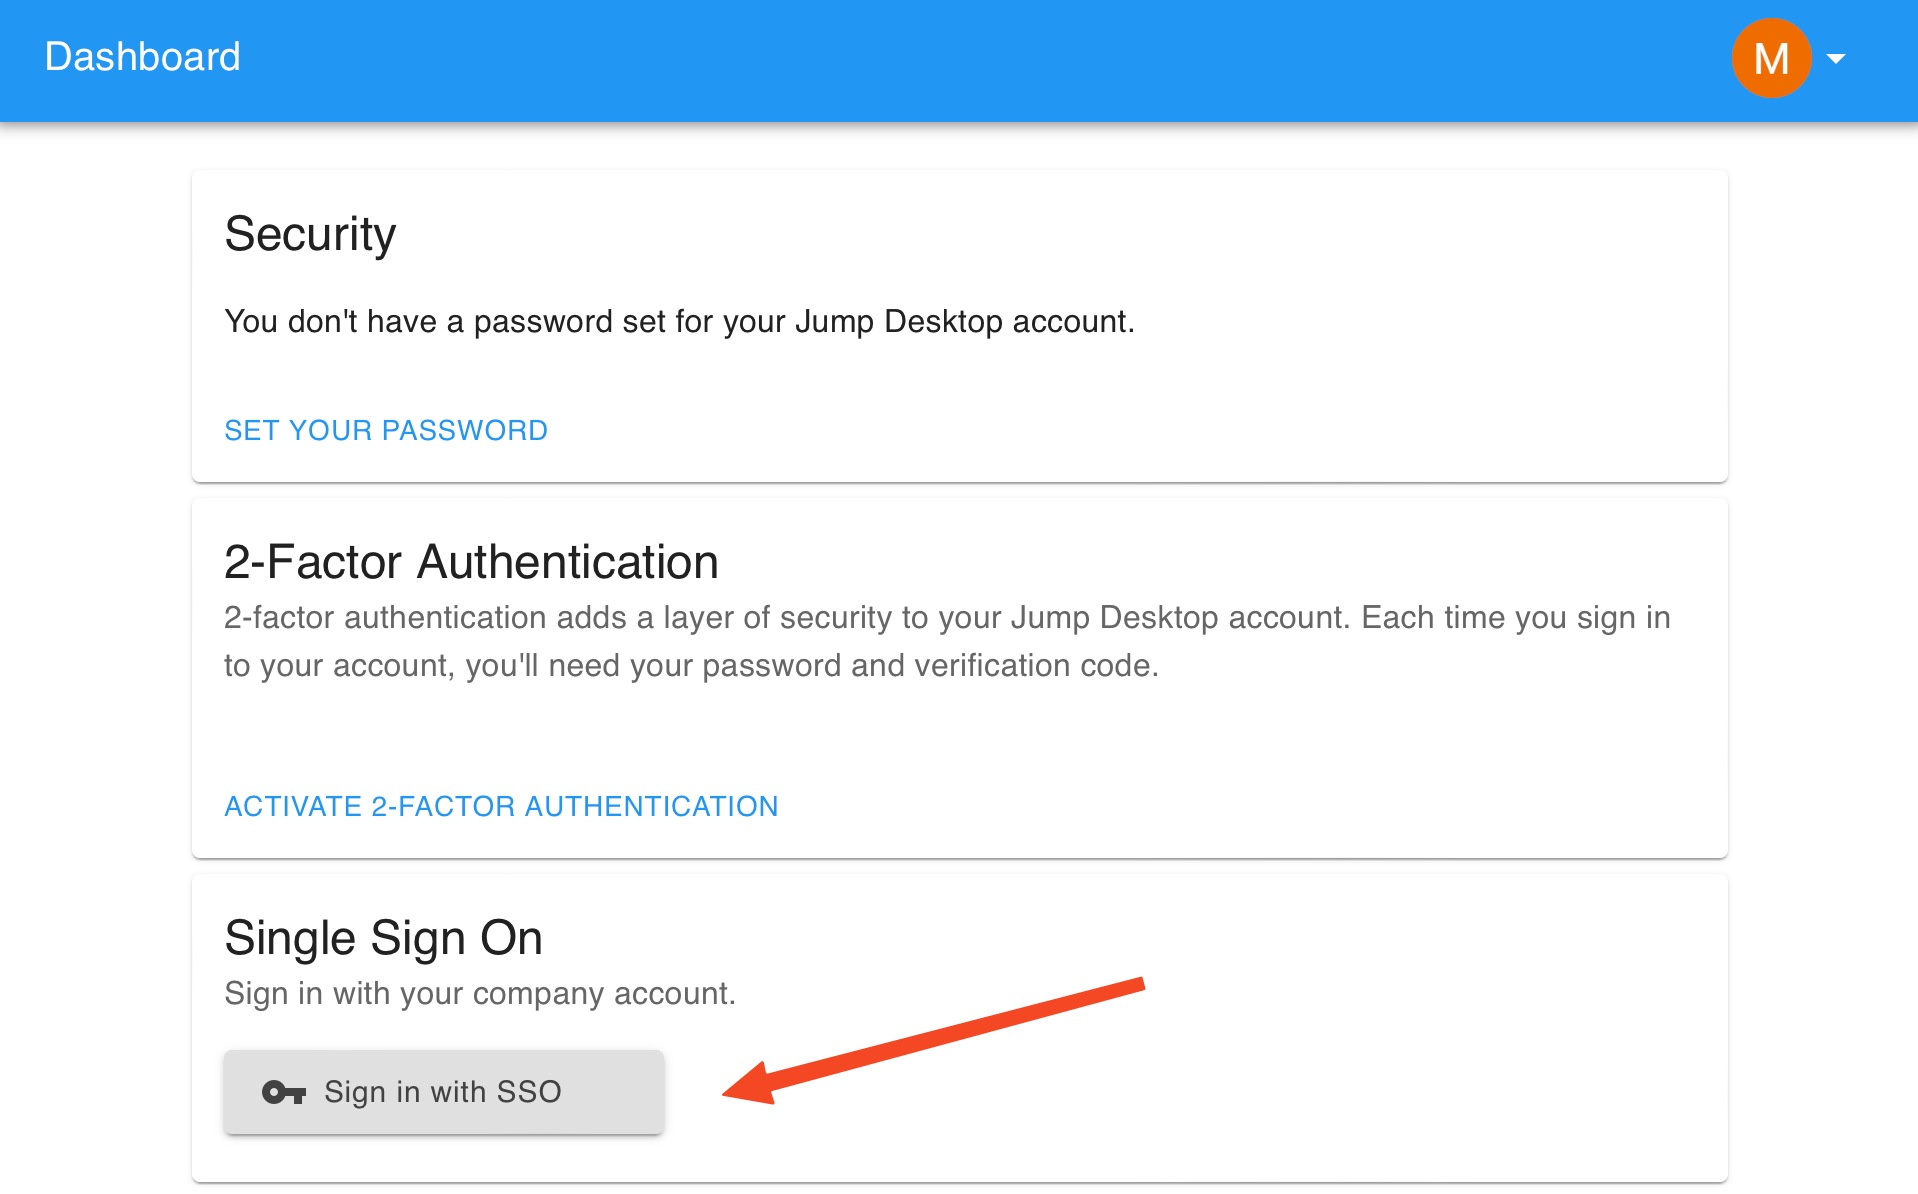
In Single Sign On, click Sign in with SSO.
-
Enter your SSO company name, click Continue, and sign in at your IdP.
Your company account appears under Single Sign On. Your IdP email must match your Jump Desktop account email.
5. Require SSO (optional)
Link SSO to your own account first.
- In Team Single Sign On, select Require SSO for 'team name' team.
- Click Require SSO.
Members who haven't linked SSO are prompted to at their next sign-in.
Rename the SSO company name
- In Team Single Sign On, click the pencil icon next to the company name.
- Enter the new name (4 to 32 lowercase letters and numbers), click Rename, then Yes, Rename.
The old name stops working, so tell your users the new one. The ACS URL and Entity ID don't change, so your IdP needs no changes.
Limitations
- Users can't deactivate SSO on their account while they belong to a team that requires SSO.